


How To Connect and Test a Trailer Lights?

Connecting and testing trailer lights is an important step to ensure safe and legal towing. Whether you're hauling a boat, camper, or utility trailer, functioning lights are crucial for visibility and signaling to other drivers.
In this guide, we will walk you through the process of connecting and testing trailer lights.
By following these steps, you can ensure that your trailer lights are properly wired and functioning before hitting the road.
Gather the Necessary Equipment
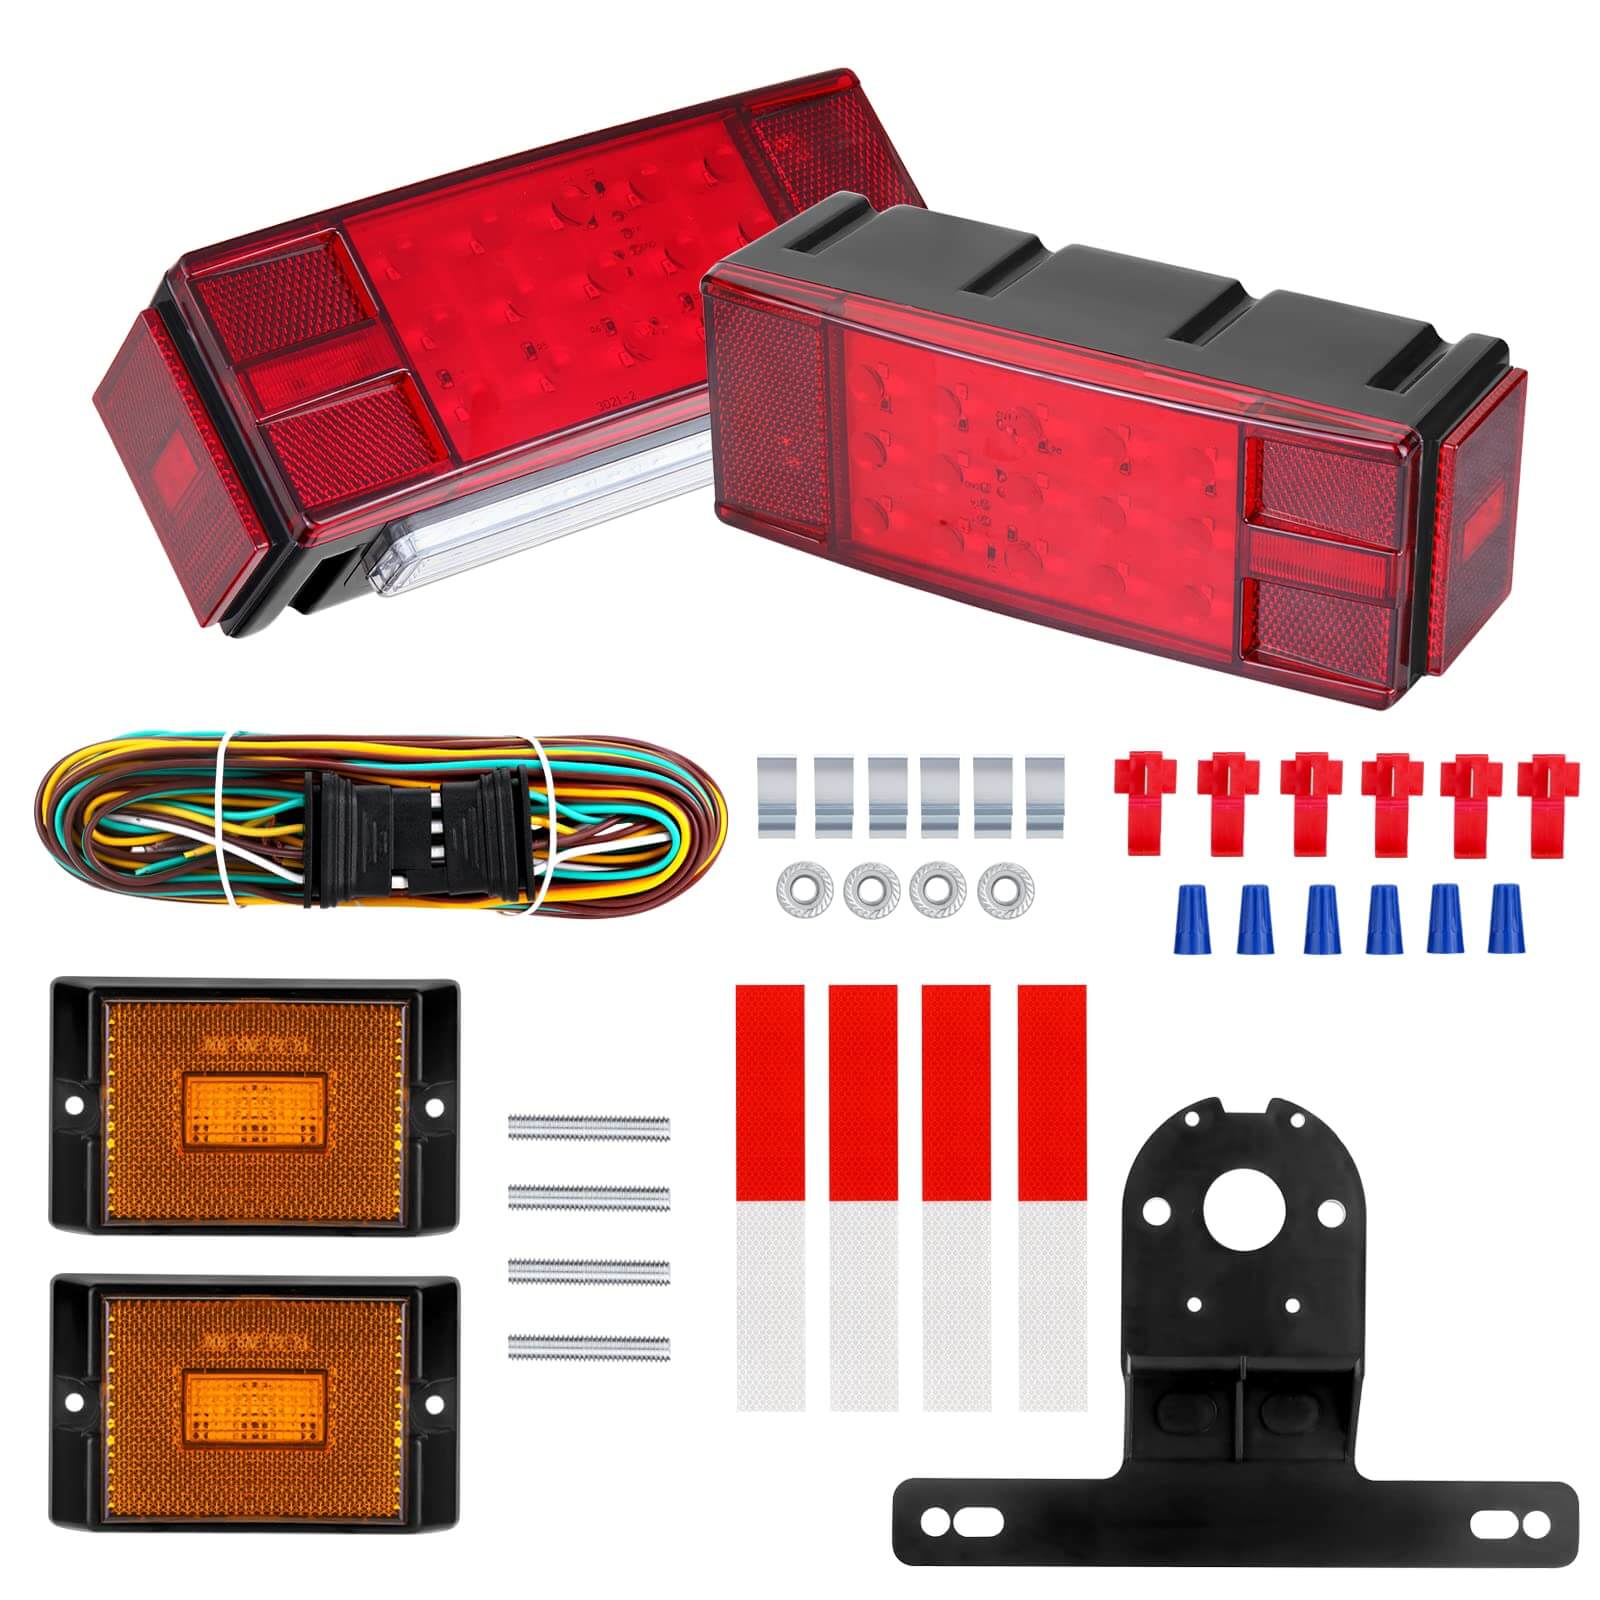
Before connecting and testing trailer lights, it's important to gather the necessary equipment. Here are the items you will need:
Wiring harness or adapter
Choose a wiring harness or adapter that is compatible with both your vehicle's electrical system and the trailer connector. This will ensure a proper and secure connection.
Wire connectors
You will need wire connectors, such as butt connectors or crimp connectors, to join the trailer wires with the corresponding vehicle wires. These connectors provide a secure and reliable electrical connection.
Wire strippers and/or utility knife
These tools are essential for stripping the insulation off the ends of the wires. They will allow you to expose a clean section of wire for proper connection.
Electrical tape or heat shrink tubing
Use electrical tape or heat shrink tubing to cover the exposed wire connections. This will protect them from moisture and ensure a secure joint.
Multimeter (optional)
While not necessary, a multimeter can be helpful for troubleshooting any wiring or electrical issues. It allows you to measure voltage, resistance, and continuity, which can aid in identifying and resolving problems.
Identify the Wiring System
Before connecting and testing trailer lights, it's important to identify the wiring system used in your trailer. Trailers typically utilize either a four-wire or seven-wire electrical system. Here's how to identify each system:
Four-Wire System
A four-wire system is commonly found in smaller trailers and utility trailers. It consists of the following wires:
Brown wire
This wire is for the tail lights, clearance lights, and marker lights on the trailer.
Yellow wire
The yellow wire is used for the left turn signal and left brake light on the trailer.
Green wire
The green wire is for the right turn signal and right brake light on the trailer.
White wire
This wire serves as the ground connection for the trailer lights.
Seven-Wire System
A seven-wire system is typically found in larger trailers, such as RVs or horse trailers, and is more commonly used for towing purposes. In addition to the four wires mentioned above, it includes the following three wires:
Blue wire
The blue wire is used for electric brake control. This wire connects the trailer's electric brakes to the brake controller in the towing vehicle.
Purple wire
If your trailer has backup lights, the purple wire is used to connect them. Not all trailers have backup lights, so this wire may not be present.
Connect the Wiring Harness
To connect the wiring harness for your trailer lights, follow these steps:
Locate your vehicle's trailer connector
The trailer connector is usually located near the rear bumper or hitch of your vehicle. It may be a round or rectangular socket with multiple pins or slots.
Prepare the wiring harness
Ensure that you have the correct wiring harness or adapter that matches both your vehicle's electrical system and the trailer connector. The wiring harness should have wires with corresponding functions, such as tail lights, turn signals, brake lights, and ground.
Attach the wiring harness to the vehicle's trailer connector
Insert the wiring harness plug into the trailer connector socket. Make sure it fits securely and that all the pins or slots align properly. Give it a gentle tug to confirm it is firmly connected.
Route the wiring harness along the trailer tongue or frame
Run the wiring harness along the trailer tongue or frame towards the rear of the trailer. Use zip ties or electrical tape to secure the harness in place, ensuring it is protected and won't get tangled or damaged.
Match the wire colors
Identify the wires from the wiring harness that correspond to the different functions (tail lights, turn signals, brake lights, and ground). Match these wires to the appropriate wires on the trailer.
Strip the wire ends
Use wire strippers or a utility knife to strip off a small section of insulation from the ends of the trailer and harness wires. Be careful not to cut the wire strands while stripping.
Connect the wires
For each function, join the corresponding trailer and harness wires together. You can use butt connectors or crimp connectors to make a secure connection. Insert the stripped ends of both wires into the connector, and then crimp or compress the connector using pliers or a crimping tool to create a solid connection.
Insulate the connections
After connecting each wire, cover the exposed connections with electrical tape or slide heat shrink tubing over the joint. Apply heat to the tubing to shrink it and provide additional protection against moisture and vibration.
Repeat for all wires
Repeat steps 5 to 8 for each wire, ensuring that the connections are secure and insulated.
Test the Trailer Lights
Once you have connected the trailer lights, it's important to test them to ensure they are functioning correctly. Here's how you can test the trailer lights:
Prepare your vehicle
Start by turning on your vehicle's engine and activating the headlights. This will provide power to the trailer connector and the trailer lights.
Engage an assistant
Ask someone to stand behind the trailer and observe the lights as you operate them.
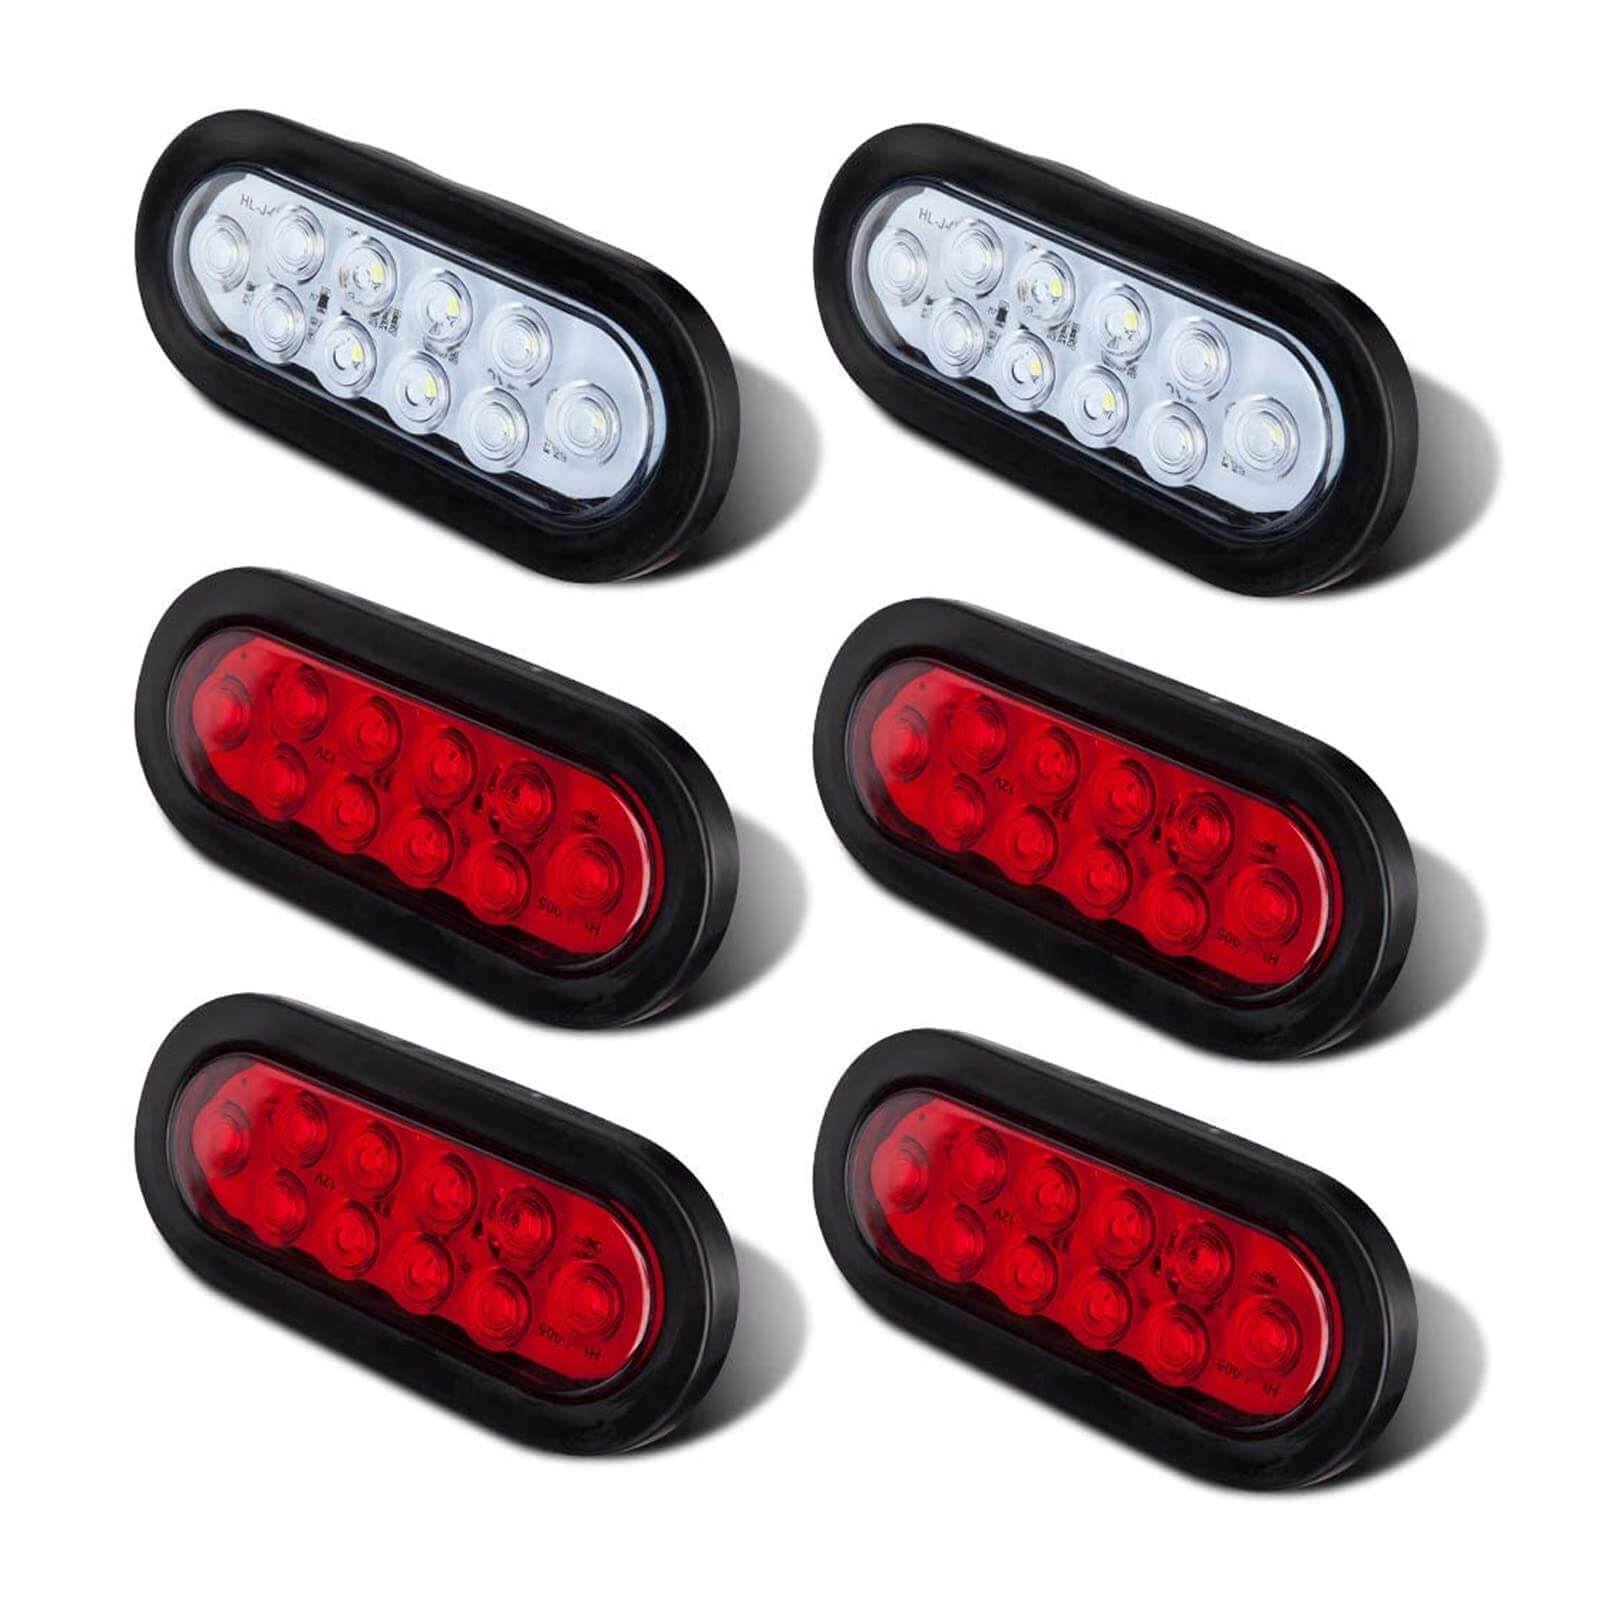
Test the tail lights
Turn on the tail lights by switching the corresponding control on your vehicle. Check if the tail lights on the trailer illuminate. They should be bright and clearly visible.
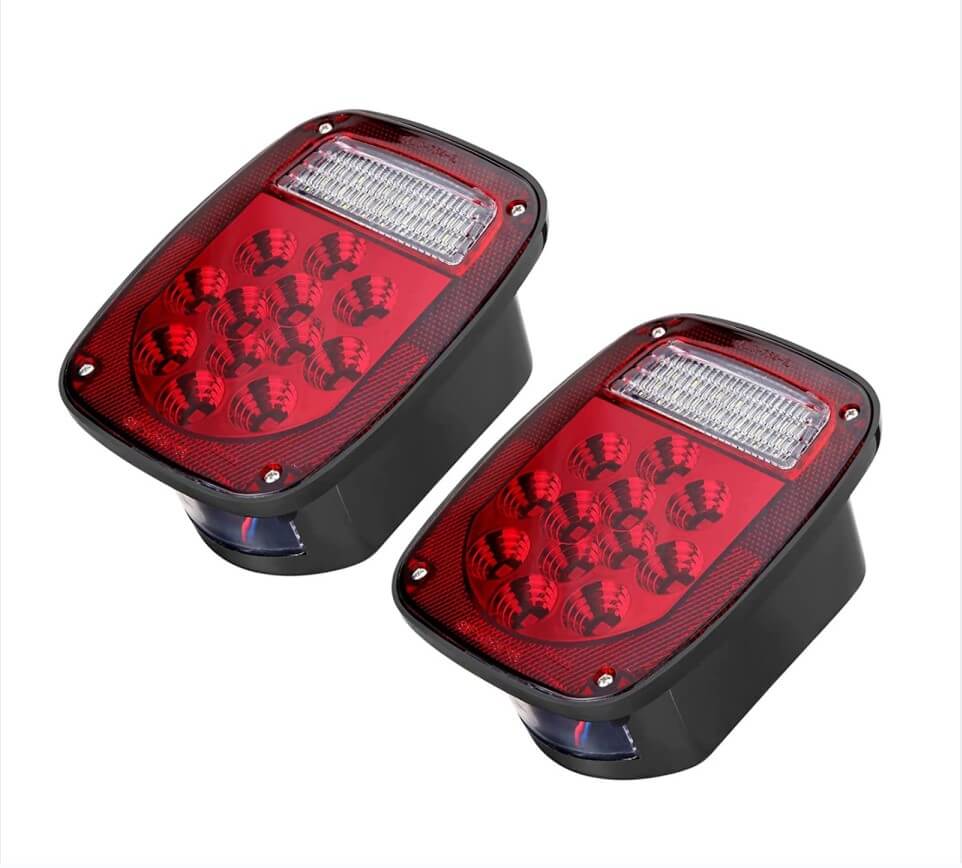
Test the brake lights
Activate the brake pedal in your vehicle. Ask your assistant to check if the brake lights on the trailer illuminate when the brakes are applied. The brake lights should be significantly brighter than the tail lights.
Test the turn signals
Activate the left turn signal in your vehicle and observe if the corresponding turn signal lights on the trailer flash. Repeat the process for the right turn signal. Ensure that both turn signals are working correctly and flashing at the appropriate rate.
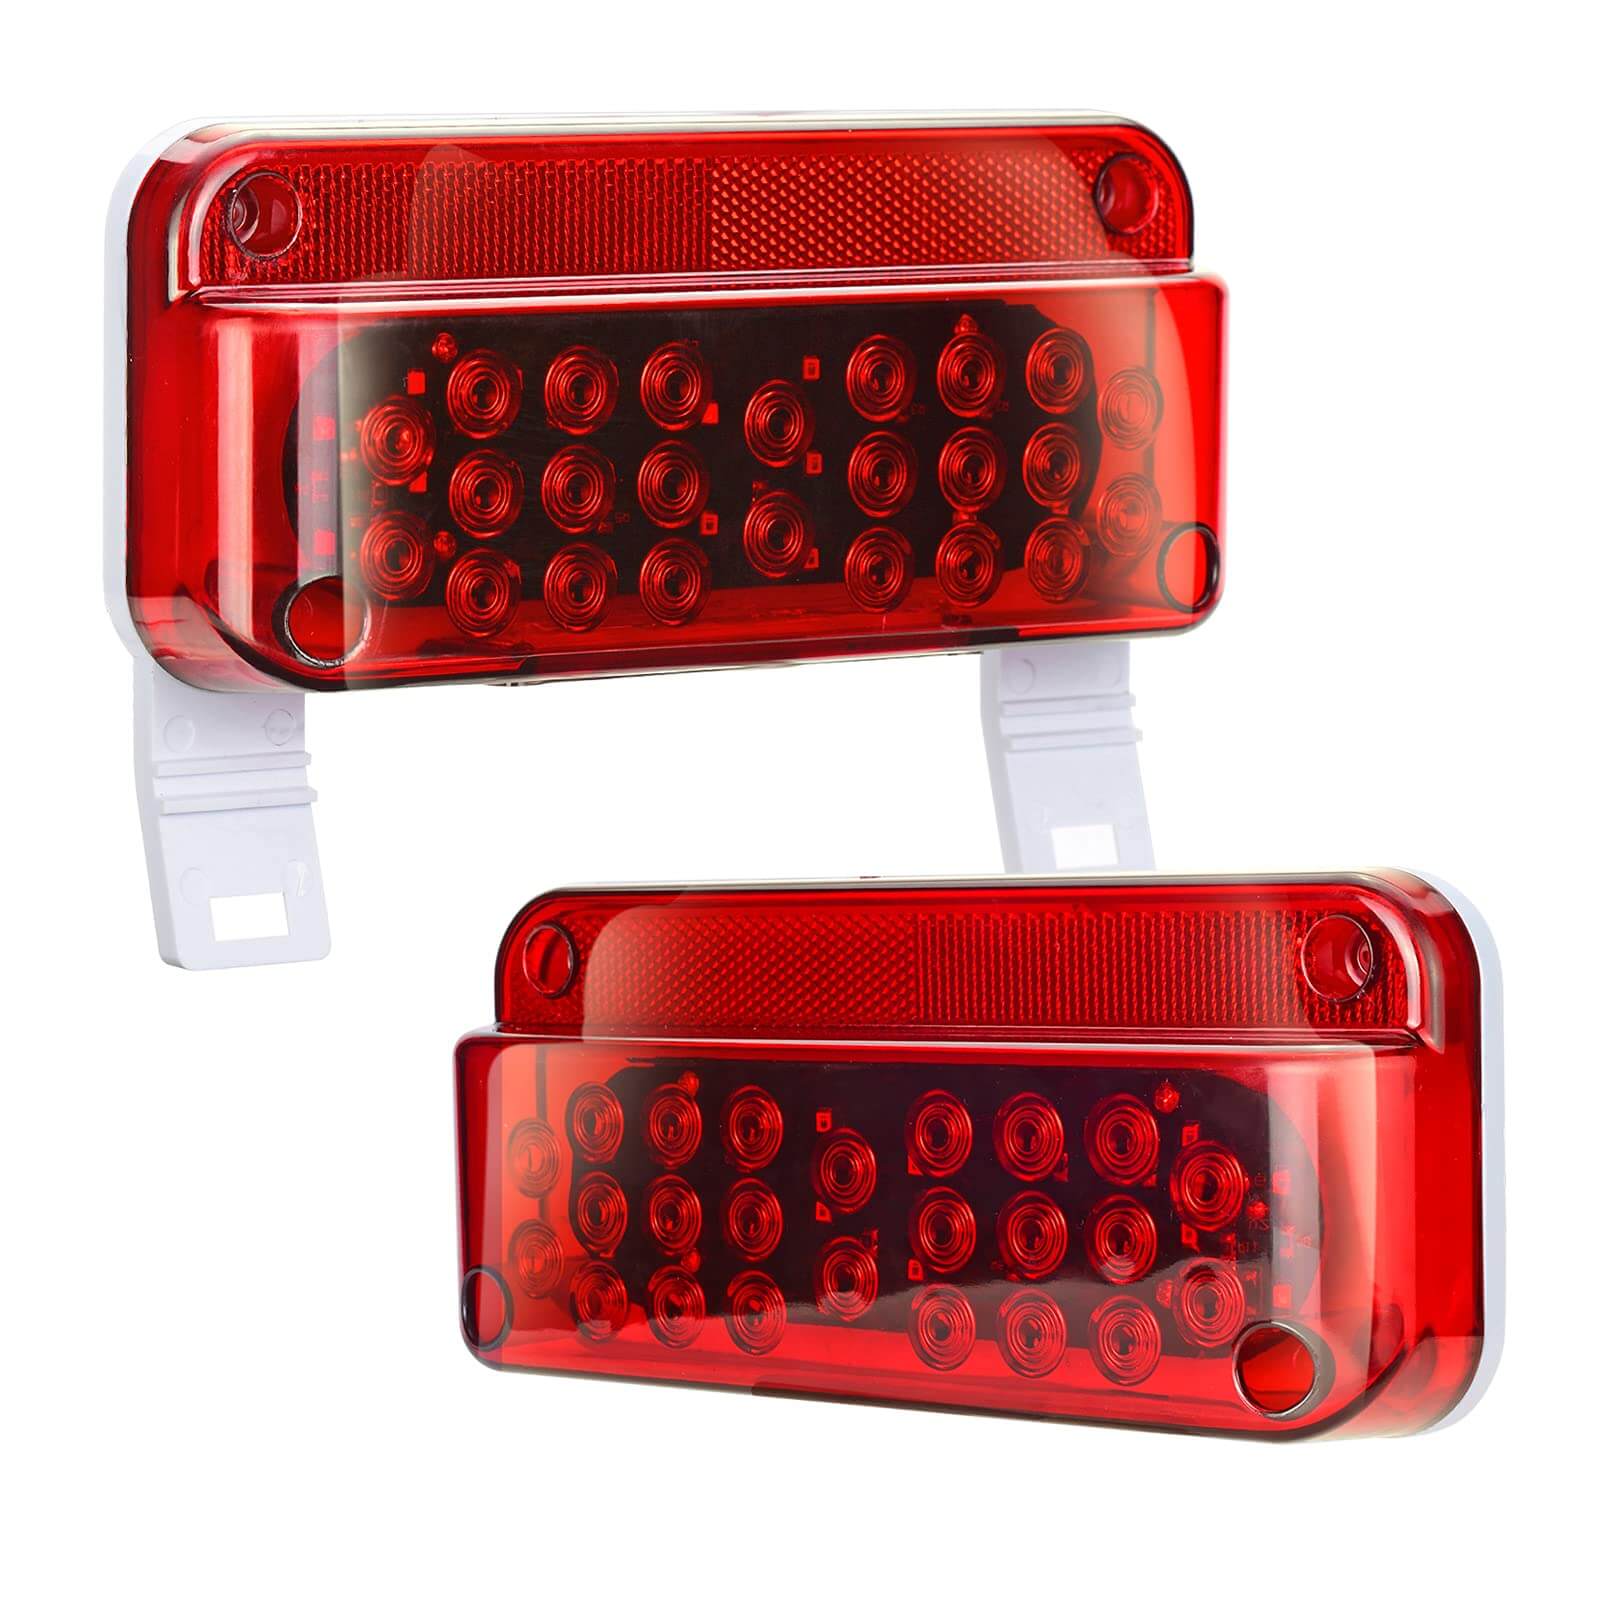
Check the marker lights and clearance lights
Activate the marker lights or clearance lights on your vehicle, and verify if the corresponding lights on the trailer are illuminated. These lights should be steady and not flash like the turn signals.
Test additional features (if applicable)
If your trailer has additional features, such as electric brakes or backup lights, test them as well. Engage the trailer's electric brake controller (if present) to confirm that the brakes are functioning properly. If your trailer has backup lights, engage the reverse gear in your vehicle and check if the backup lights on the trailer illuminate.
Inspect for any issues
During the testing process, keep an eye out for any flickering lights, dimness, or lights that are not functioning at all. If you notice any issues, double-check the connections, ensure the wiring is secure, and verify that the bulbs are properly installed.
Conclusion
Connecting and testing trailer lights is an essential step to ensure safe towing. By following the steps outlined in this guide, you can properly connect the wiring harness and verify that all the lights on your trailer are functioning correctly. Remember to double-check the wiring system of your trailer and use the appropriate connectors to ensure a secure and reliable connection.


0 Comments