


How to Wire Trailer Lights Easily
Writing an article for you here, I will be doing a demonstration on how to wire a trailer in this particular article, here I have an old trailer and it needs some work, as well as rewiring the lights is a fairly simple setup, no license plate lights or obstruction lights, be sure to check your local laws to determine what is necessary. I have also provided three different wiring diagrams later in the video for better understanding.
I have removed the old wiring that was left on the trailer and we will be installing everything new except the LED lights that have been installed in this trailer for about a year now, if you have any painting or welding requirements I recommend doing those before installing the new lights installing the new lights makes this tutorial a little easier to understand, I will be flipping the trailer over on its side so everything can be easily seen, this also makes everything more easy to work with so if you have a smaller trailer you can do this, I definitely recommend here is a brand new universal wiring harness which is just a standard 4 wire with ground and signal or brake lights.

I believe there's about 25 feet of wire here, which should be more than enough for this trailer, and they provide the connector on the side of the vehicle, which I don't need because the tractor already has this installed, and you can see on the back of the package there's usually a guide provided, which is a good reference if you need additional help.
Next, I have quarter inch diameter mylar split sleeves 25 feet long to protect the wiring. Protecting the wiring, this is a must. Consider that the wiring will be in the bottom of the trailer and exposed to wet gravel. Winter road dirt and any other can damage the insulation so that in order to secure the wiring in place, wire ties can be used. But I would rather use something more durable and cleaner. You will need to plan where the wiring will be located.
Considering that this is an angled trailer, I would place the wires in the middle. In the center and then separate them as he gets to the back of the trailer. Go to the back of the trailer with each light as far away from the wheels as possible, as this is where the most rotor debris will be thrown up on the tongue. I will run it on top to keep it away from the wheels. I'd run it on top to keep it away from any hazards and it's centered depending on which side your trailer's plug is on.
On top, this also helps keep it off the ground and off the road from scuffs. I have measured where the hole will be and used a scribe to lightly score it. Instead of steel, be careful when using a scribe as this could create a spot that could crack the rebar. Be careful when scribing as this can cause the rebar to crack, so it is not usually recommended for structural members. Use a center punch to prevent drilling. Start the wash with the center drill first, then finish the wash with the center drill. Use the center punch first, then finish with the correct size drill bit, and do the same with the other holes. I try to get the wire clips a little closer together to prevent the wire from getting caught in anything that it will sit in the channel, so if you have a tubular frame, it helps to add that as well, and you might consider threading the wire in there because it's a structural piece and a small hole won't really affect its integrity too much.
After the structure changes when you start cutting the big holes and components, I was able to wire along the side of the tongue because the top of the tongue is against the bed, I think. The tilt lock. I'm using paint markers so that once the wiring gets to the end of the bed it will be easier to see. I'm using self-drilling screws, but I have my own ideas. Although I find they don't always work well, which is why I drill the holes to the correct size first, and when I'm drilling I also mark the holes so that the wiring goes through the holes in the channel. Use a center bit as a pilot hole and then choose the correct size, separate the casing and make sure to deburr the hole. This way you do not risk damaging the casing.
When pulling the casing, use only the larger size drill bit or step drill. Turn it by hand and now tape the wires on the trailer together, spacing them about 16 inches apart, this helps keep everything organized and makes it easier to insert, do this at the full length of the split casing until it is the width at the end of the bed. Insert the wiring into the casing for the length of the tongue and the length of the bed, the wide part, this will continue to a light trim off the channel and then the remaining part will be used for the ground wire on the other side, I had to extend this light to the bed but the tongue is a removable part and there may be grounding issues on the pivot so the ground wire needs to be connected to the head of the bed, if you don't have an angled trailer then the ground wire can be connected to the tongue, instead I solder up the extension cord, use a glue filled shrink tube to protect it from moisture, and seal the split housing with the existing 18 gauge wire.
Use electrical tape at the plugs, this will keep debris out of the housing and prevent wiring from popping out, in addition to this, use strips of electrical tape, as we do when wiring, around the section of the split housing, this will help keep the wiring inside and prevent dust from getting inside, during installation, use those plastic ring clips with screws and insert them into the plastic ring clips and screws that Install the wiring in the proper position for length, extend the plug a few inches to the end of the crane so it has some movement as it turns, but don't have it to tighten the job and drag the strain on the lead wiring to the ground or become unplugged, this can be adjusted depending on the length of your vehicle.
Be careful when tightening these screws, they can twist the wire loops so be careful to use power tools or use a screwdriver to tighten the loops and hold the wire tight so I can tilt the lock leaving the access wire so there is no interference, I put I left the access wire at the tilt pivot and once the wire is inserted at the end of the bed, it will insert the wire into the sleeve. This wire will be pulled to the driver's side and the green and brown wires will be connected to the driver's side. The green and brown wire will be connected to the passenger or right side of the vehicle and the yellow and brown wire will be connected to the driver or left side of the vehicle.
Trim off the excess wire and casing, remove the wire from the sleeve, then use the sleeve on the other side, then feed the exposed wire in on the other side, which will be against the already installed sleeve. After taping to the already installed sleeve and securing everything together, insert the wires into the drilled holes in the outer skirt. I have drilled a larger hole to accommodate a rubber grommet.
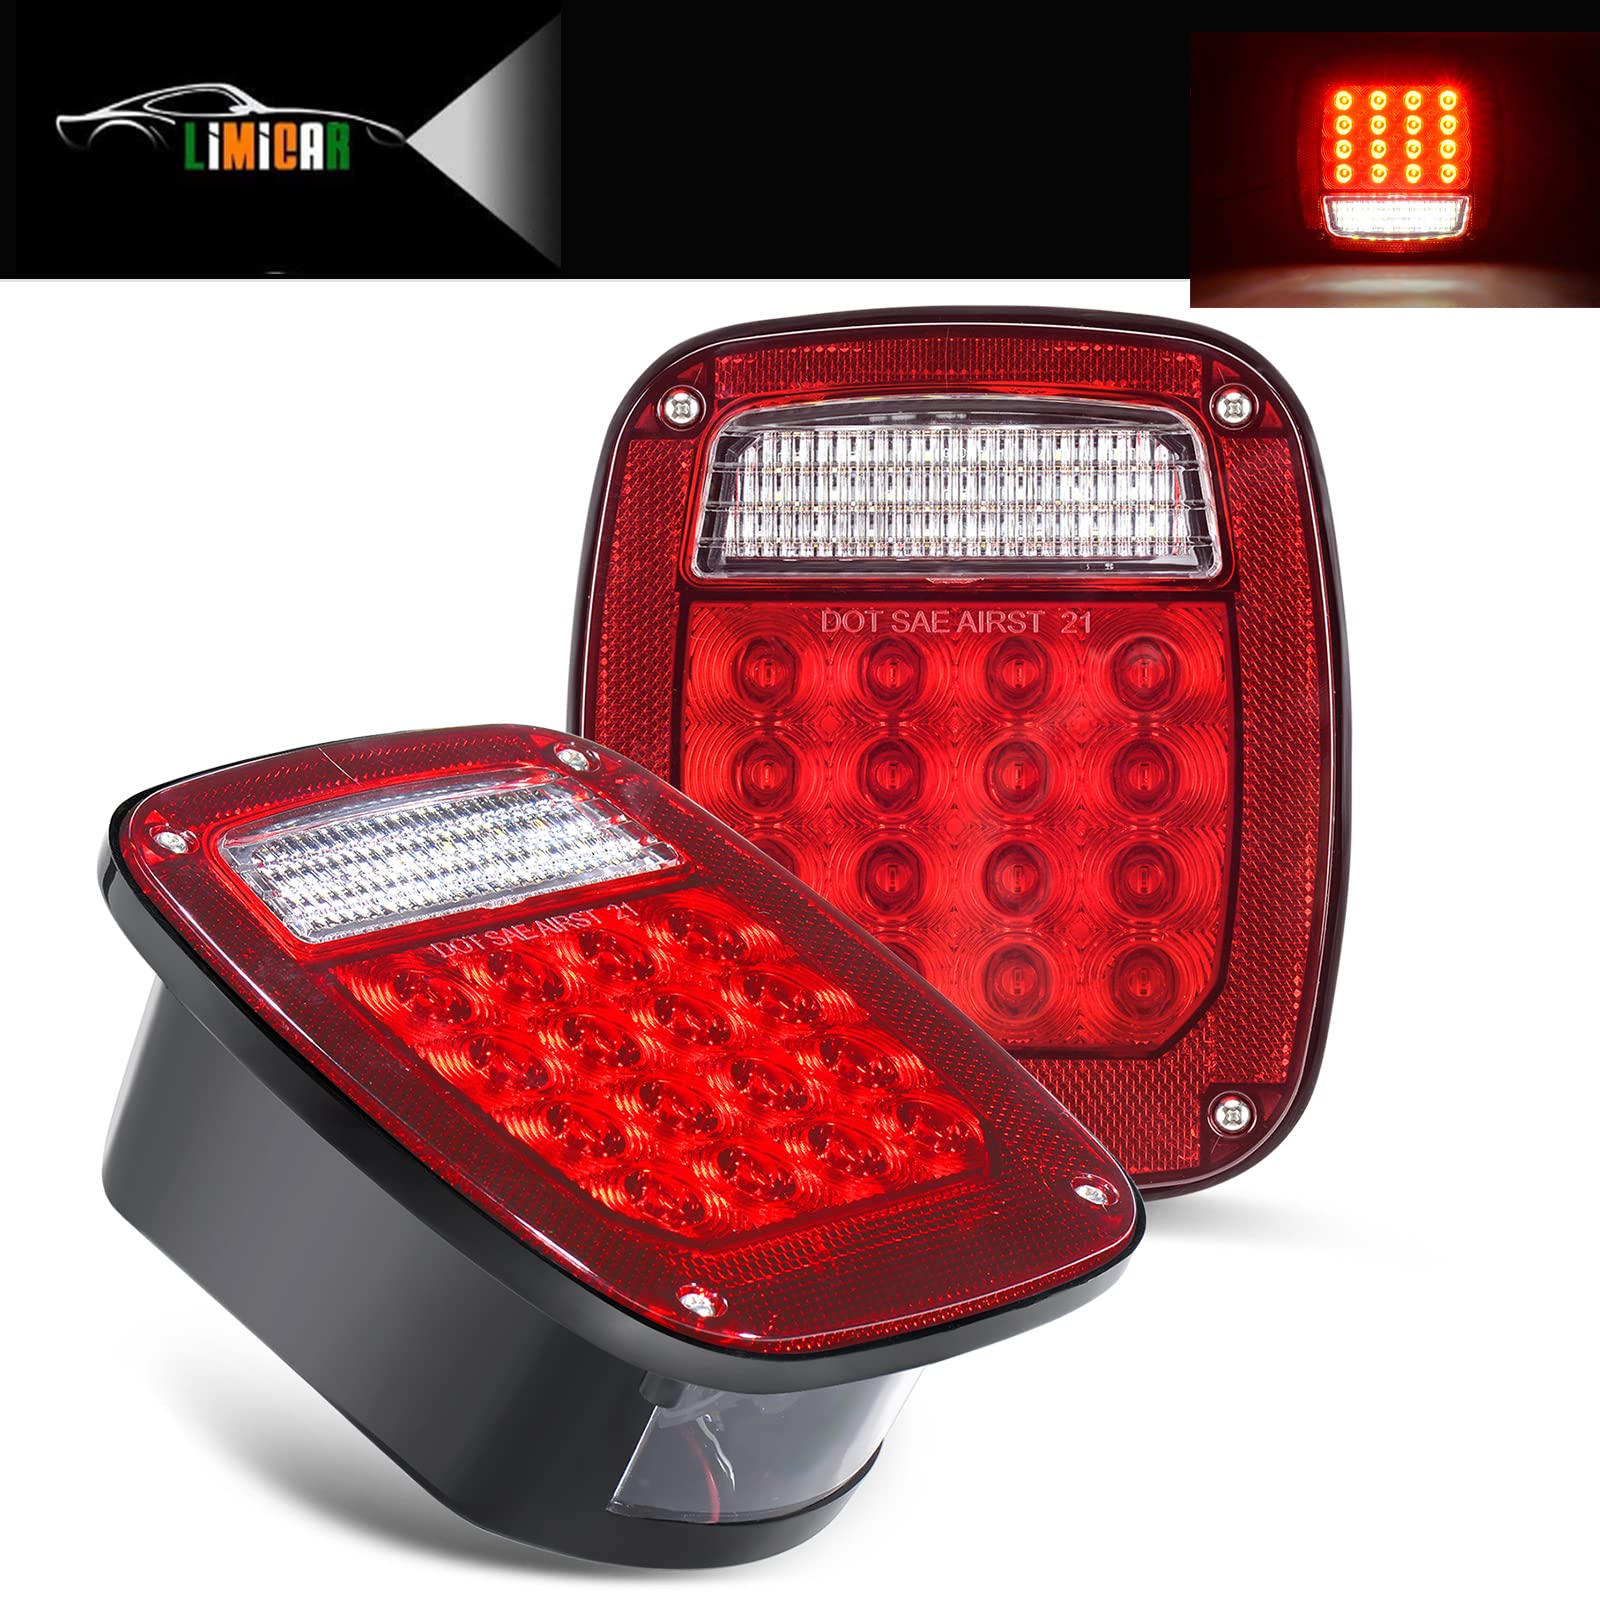
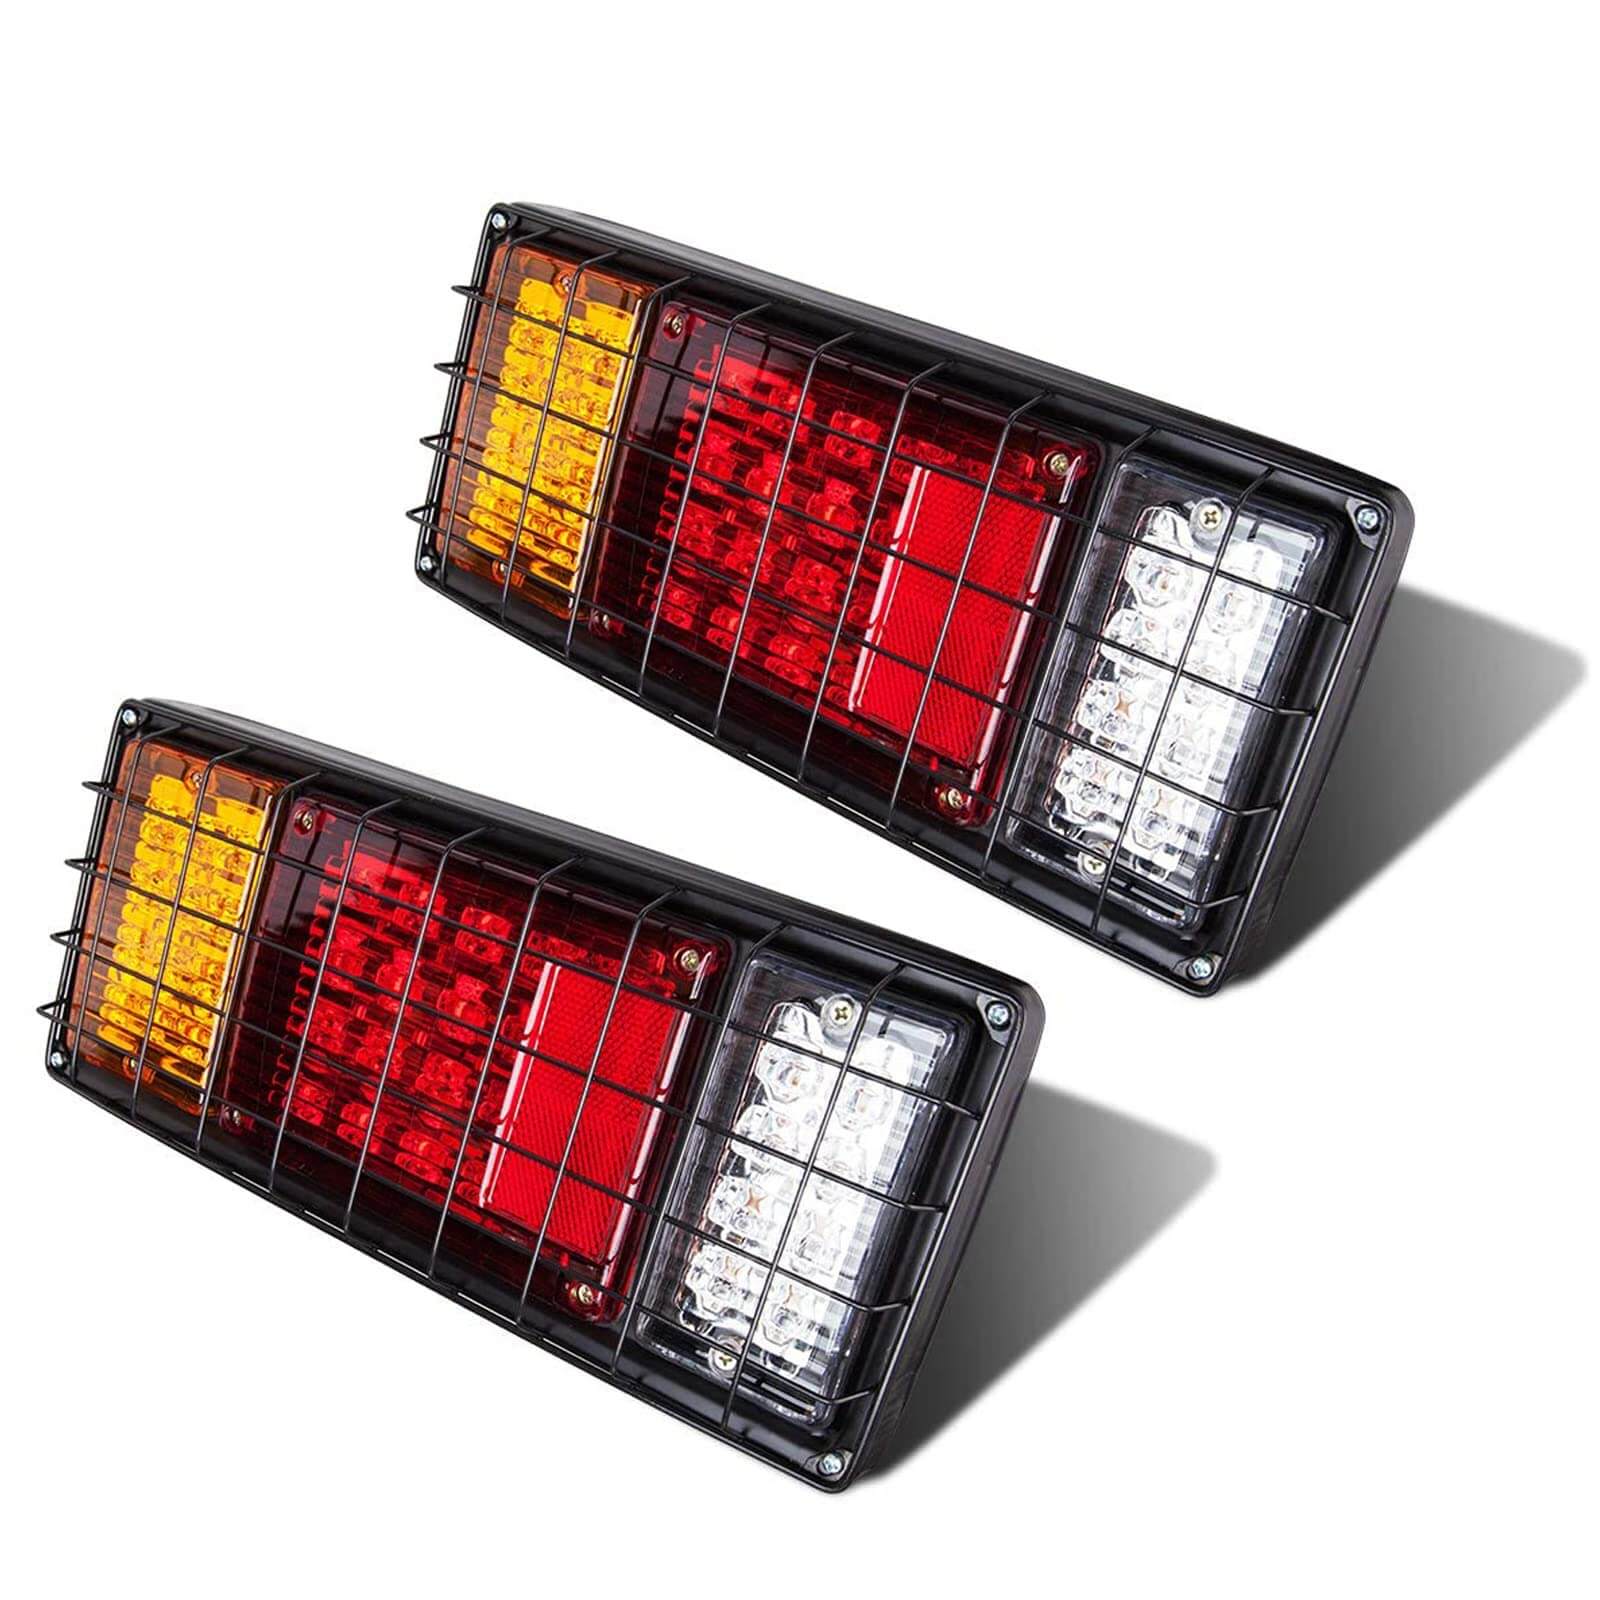
I did use a stepped drill bit. It looks cleaner and holds the housing in place well, I will be using solder instead of wire. You can also use a waterproof connector, which is your choice, and as mentioned, this trailer is equipped with LED lights for mounting LED lights have a longer life span, so you can choose to have a longer life span, so you don't need to replace the bulbs as often. It can be waterproof and can also put less straw on the electrical system of your vehicle, again, the wires are taped up. The yellow is for the left turn signal and brake light housings, the green is for the right turn signal and brake lights, and the brown is for the parking lights.
I will include a diagram at the end if you want to install clearance lights on the turn signals and brake lights. The brake light and signal light should be brighter for illumination and the parking light or clearance light should be a dimmer one, now the illumination is for the wiring housing. It has been cut long, especially because there are several inches of wire that will come out of the wires in the lights. The housing will help protect the light, the reason for the longer wire is if anything needs to be adjusted in the future we have an extra 6 inches for any modifications. Maybe you want to add clearance lights, extend the length of the plug at the tongue, swap out the lights or something else, you may need more wire to wrap around the wire section just like before, before I flipped the trailer you can see the wrapped wire and the poly loop has enough coils to hold the wire in place and keep it from hanging off the back. I put it a few inches away from the rear skirt. A few inches away from the back skirt to reduce the chance of it being gathered together. Or if there is a hook on the edge, it won't snag on the wire and the hook won't catch the line. There is enough access wire at the tilt pivot - I would still put the ground wire in and install the ground wire.

As mentioned earlier, this will mount directly to the bed, as mentioned earlier, install the ground wire in the frame, use a self-drilling screw with pre-drilled holes, make sure there is enough wire, and if you are using a tilt trailer, install an electrical contact device. If you are using a tilt trailer, install an electrical contact ring, the mounting surface may require you can even put liquid tape around the wire at the tie down point and around the wire to prevent any moisture from seeping in, now to flip the trailer onto its wheels, I need to put sit on the other side of the ground and use a step drill bit to drill holes for the grommets. Step drill bit, install the grommet and pull, strip the wires, solder and add heat shrink, here I am using a handheld heat gun that can easily be used on its low setting at 482 degrees Fahrenheit or 250 degrees Celsius, or on the high setting at 842 degrees Fahrenheit or 450 degrees Celsius, the deflector helps protect the area around the baffle and provides an even heat distribution around the shrink tube Each light has its own ground, shown by a white wire, connected directly to the back of the light stand on the bed. Close the breakout loop again and use the last thing we want to do is test to make sure everything is working properly plug it into the vehicle and make sure the brake lights, the four way flashers, the stop light signals are all working properly, if you are having problems you may have a bad ground, check the condition of the connector or check the connectors or wires on the vehicle or you may have a damaged power cord, as far as the wiring diagram here are a few different versions , I based it on this version.
The setup for this line, it runs to extend to the center and branches out at the end of the bed versus running on each bed, first is what I did with this setup, next is the wiring for the license plate lights, if you choose this option, the license plate lights will run from the parking lights, brown wire, so you can pull power from either one. The third picture is using the clearance lights, one clearance light on each side, one on each side, and then a larger one on the back of the trailer, both of these lights will run from the brown or parking and lighting wiring, same as the license plate lights, or if you want to install a license plate light, then just another extension cord from the lights.
Don't forget to leave a comment below
I know what you think of my article
Thank you for watching


0 Comments