


How to Troubleshoot Trailer Lights that are not Working
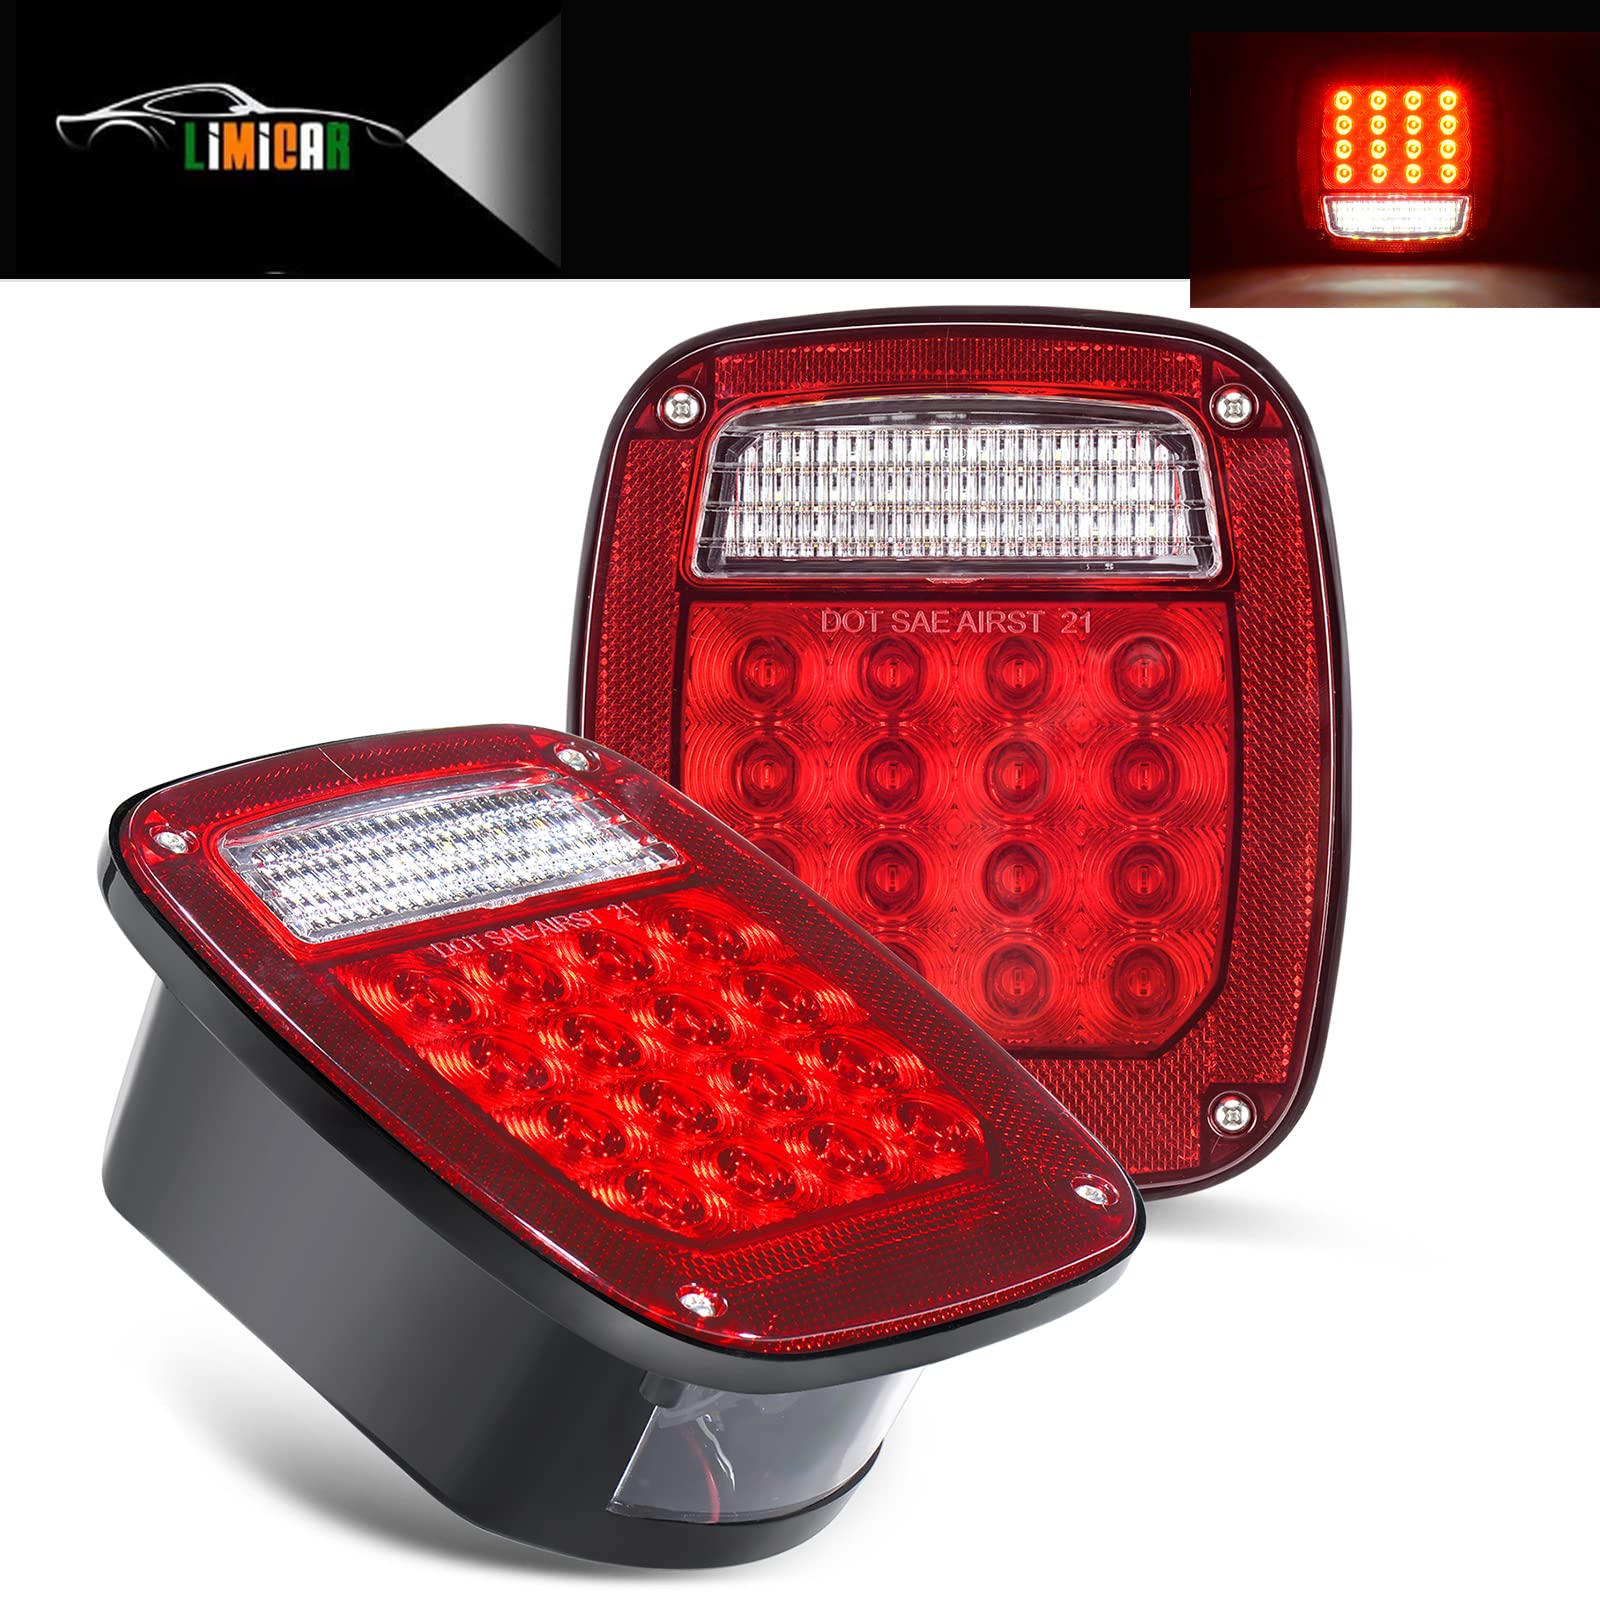
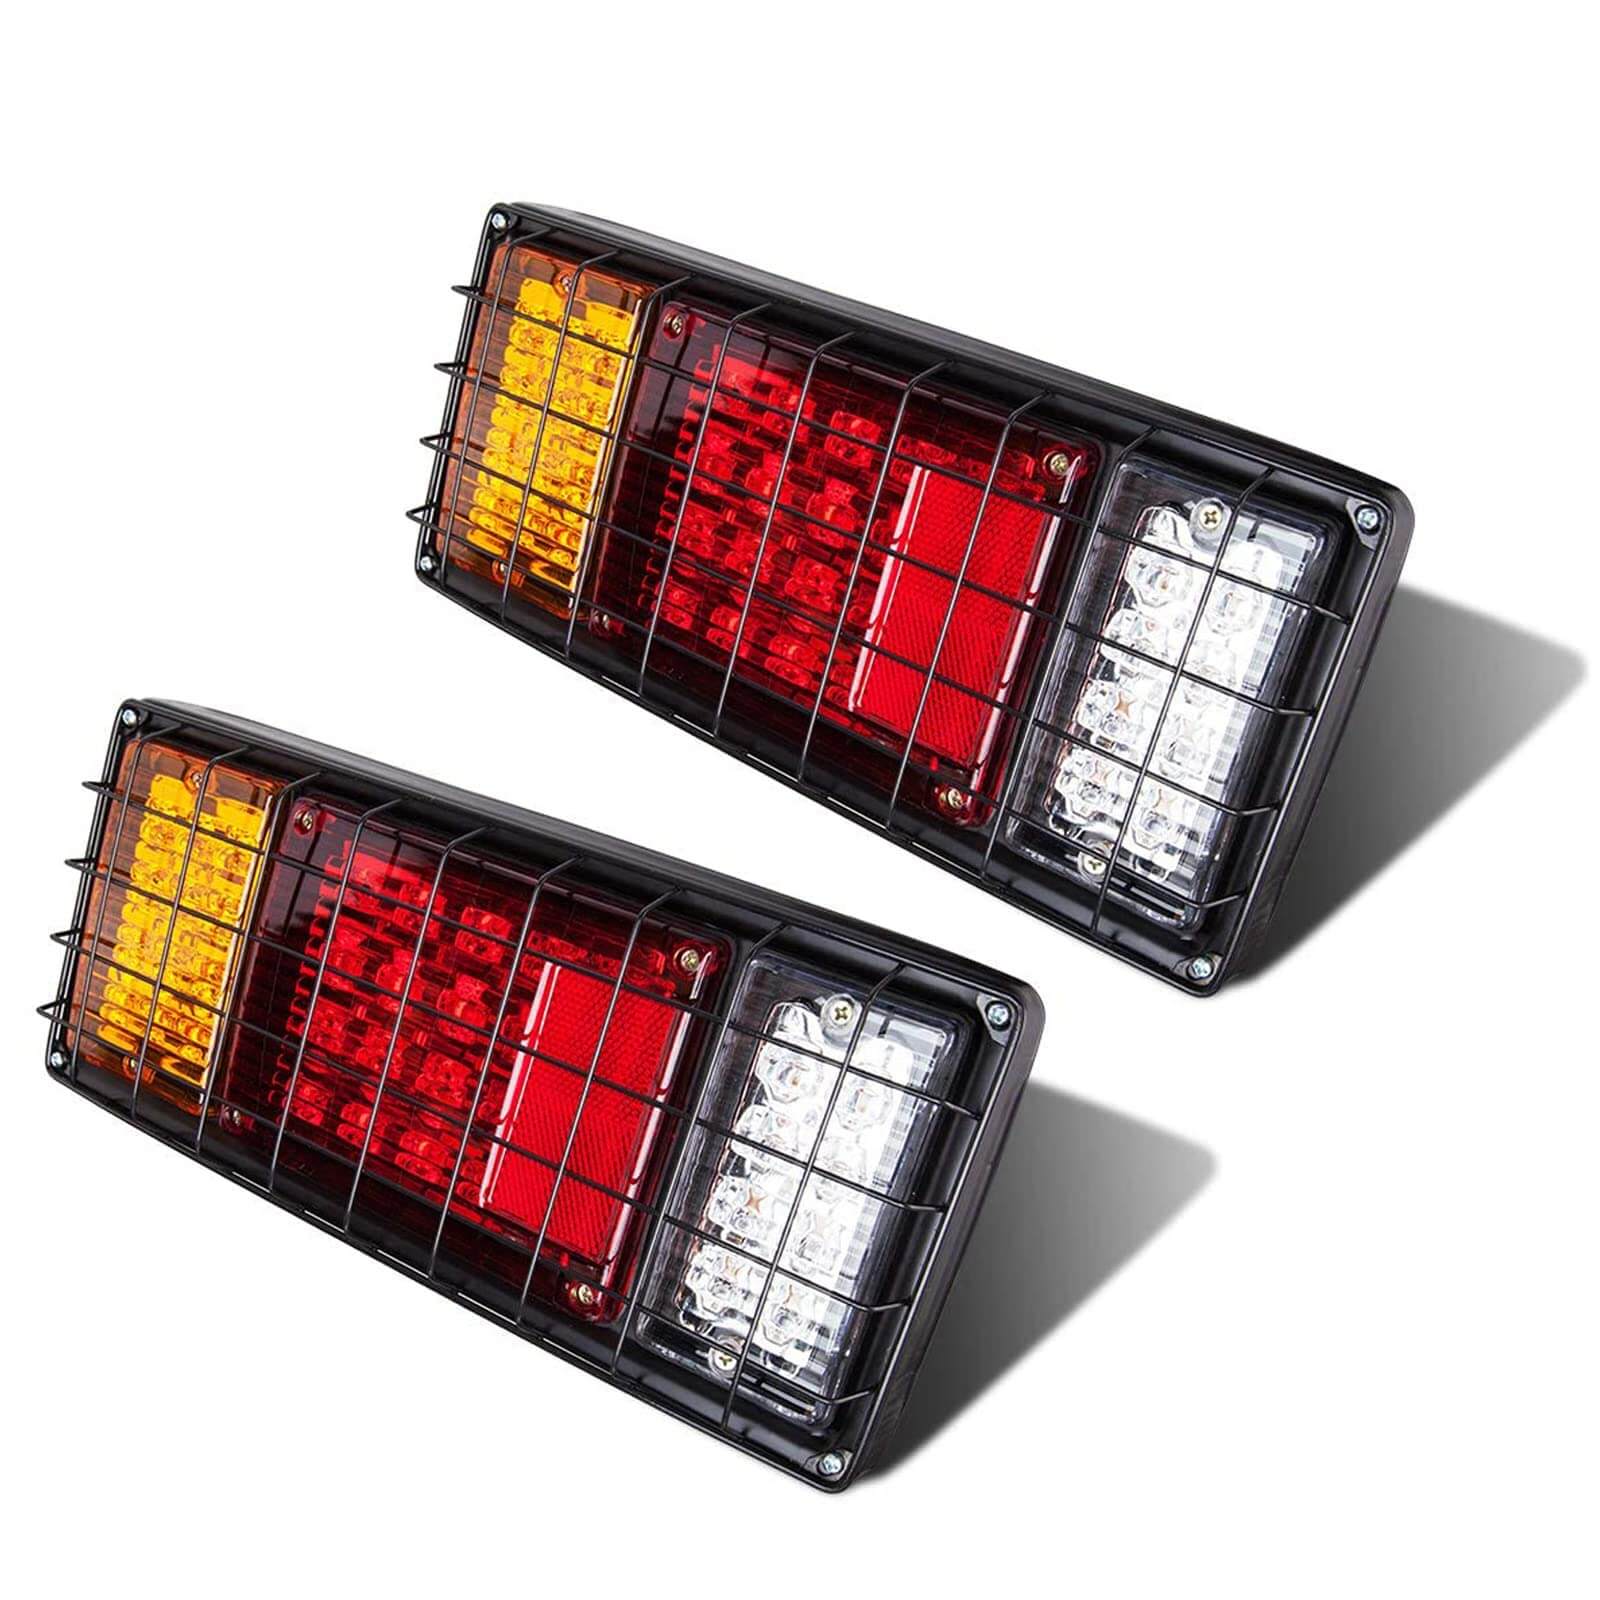
Hey everyone, welcome to my blog where I show you how to, around the house yourself for repairs. This post we're going to show you how to troubleshoot trailer lights and that includes everything on the vehicle all the way up to the trailer lights, the trailer and everything in between, when I bought this trailer the lights acted up and these are the original incandescent lights newer trailers may newer trailers may have LED lights but still the same process, it's a four wire system.

Diagnosing Common Issues with Trailer Lights:
So, brown is the parking lights. White is the ground wire Green and yellow wires are also used as brake lights and I will list the wire code table in the article description which is included in the article description that will cover the different types of wiring systems, trailer lights because you can see the signal lights are having problems and it's hard to see in front of the camera. The current light output is a faint blink, but when the connection is moved the lights start working again. The previous owner was nice enough to hook me up to a new connector so I could get the trailer home and that did solve half of my problem, I found the problem was also coming from the truck side, I'll show you how to check that, once I got the harness off the truck I found the harness on the truck was crimped, which I usually don't like, if the crimp connection isn't tight enough it will also affect the light output, like in this As is the case here, there wouldn't be a good connection and the wires would eventually pop out, and secondly the crimp connection doesn't provide a, unless you use heat shrink, crimp connection doesn't provide a weatherproof seal.

Heat shrink connections, but they can be expensive, or at least where I live, use a test light, you can determine if there is power at the connection, turn on the parking lights and hazard lights, the hazard lights will activate the left and right turn signals, the signal light connects the test light to the ground, which is the exposed one, then detect the other three terminals, the test light should illuminate solid for the parking lights and flashing signal light. The parking lights and the flashing beacon because you can see a signal terminal is not getting any power and that's where the wire is disconnected and if I detect the bare wire then it will the parking lights will come on.

This wire is also not receiving any power, this is most likely due to a problem at the crimp, if it is not working it is most likely a crimp problem. If it doesn't work then some of them do have a module, so this could be faulty or there could be a problem with the location of the trailer harness, test the wire insulation for damage. Damaged wire insulation as well as this will allow and moisture caused a damage to the conductor that connects the trailer connector. The trailer connector, as you can see, has the wire cut off. The trailer is brought home to clip the test light on the exposed ground wire. Make sure you do not cross any bare conductors, use electrical tape if needed, this can blow your fuses if they are crossed. Double check the wires on the truck and the connector on the trailer end. Once connected, I can also check the conductor on the exposed side of the plug to make sure it is also working, do not puncture the housing as this will cause a moisture to enter the area causing the conductor to be corroded and cause a failure to occur.

To remove this particular type of light use a standard screwdriver with the tip wrapped in electrical tape so you don't scratch the light and then slowly pry it out of the rubber grommet instead of testing just past a plug you can check the light as well where I stripped the wires, which requires taking the light off, or taking the bulb off, or taking the whole assembly off. Sometimes there is a plug in the back that you can disconnect, or you may have to remove the bulb with the lights on and plug the connector into the plug or bulb socket. If you find a problem between the plug and the light then there is a problem, there is a wire problem somewhere or possibly a grounding problem, you can replace a wire or there are kits available to replace the entire wiring, as far as fixing the problem I have here, the first thing is to cut the wire and remove where the problem is, try to pick a good place where the copper is still there shiny copper will indicate it has been exposed to moisture, which would not make a good connection.
You can see the contrast between clean copper wire and discolored copper wire, if you can't cut it further then use a wipe and then twist the wires together again for a waterproof repair, I used an adhesive I have a kit so I can choose the correct size for the size of the unit. Then cut it to the correct length and use a side cutter, this needs to be installed before the joint is soldered The other option is liquid tape but it is not suitable for installation before soldering. It is liquid tape, but it does not cleanly twist the wires together. On the truck side, I used rosin core solder, which cleans the wires to a certain extent, and for the connections, I used western connectors, which is a common type.
Before the joint is sealed up, I give it a final check with a test light, apply heat shrink to the joint, make sure it is centered over the joint, heat the heat shrink sheet with a heat gun, and as the casing is heated it will shrink and melt the sealant. It will shrink and melt the sealant that is adhered to the existing casing. Forming a watertight joint over the existing casing Here is a quick view of a quick heat shrink, as you can see there is melted adhesive exposed on the outside edge of the tube, the trailer side, twist the wires together and solder the joint, I have done this here, again using the heat shrink, make sure the heat shrink is in place before soldering.

Another view, once the repair is done on the trailer side, the wires are put back into their split ring in the housing so that the wires are protected from any road debris. The housing was sealed with tape so the wires would not come out. Another problem can also be a corroded trailer connector. Sometimes this can be cleaned up by soaking it in vinegar, but if it corrodes too much, it will need to be replaced. The best thing to do is to apply insulating grease to the terminals. Then install a cover to keep it out of the weather.
Finally install it under the trailer, the wires on the truck can also be installed with a split ring bushing with a tongue and then tied up with a cable tie behind the bumper and the cable tied behind the bumper and then confirm the lights, if you found this blog helpful don't forget to give it a like and leave a comment below and don't forget to subscribe to my store for more information.


0 Comments