


How to Wire a Boat Trailer
Today we're going to be installing new wiring on one trailer and we're also going to be installing new fixtures on the trailers.
In today's article, we're going to rewire a couple of trailers and we're also going to install new fixtures on a couple of trailers, okay, we're having issues with trailer lights, the wiring looks to be in poor condition, chipped in a lot of places. It's taped up, a couple of places look worn, our fixtures are a little bit old, maybe we've been thinking about upgrading to LED fixtures, whatever the reason is, if we're going to go ahead and re-wire this trailer, unless we're 100% sure that these fixtures will work properly.
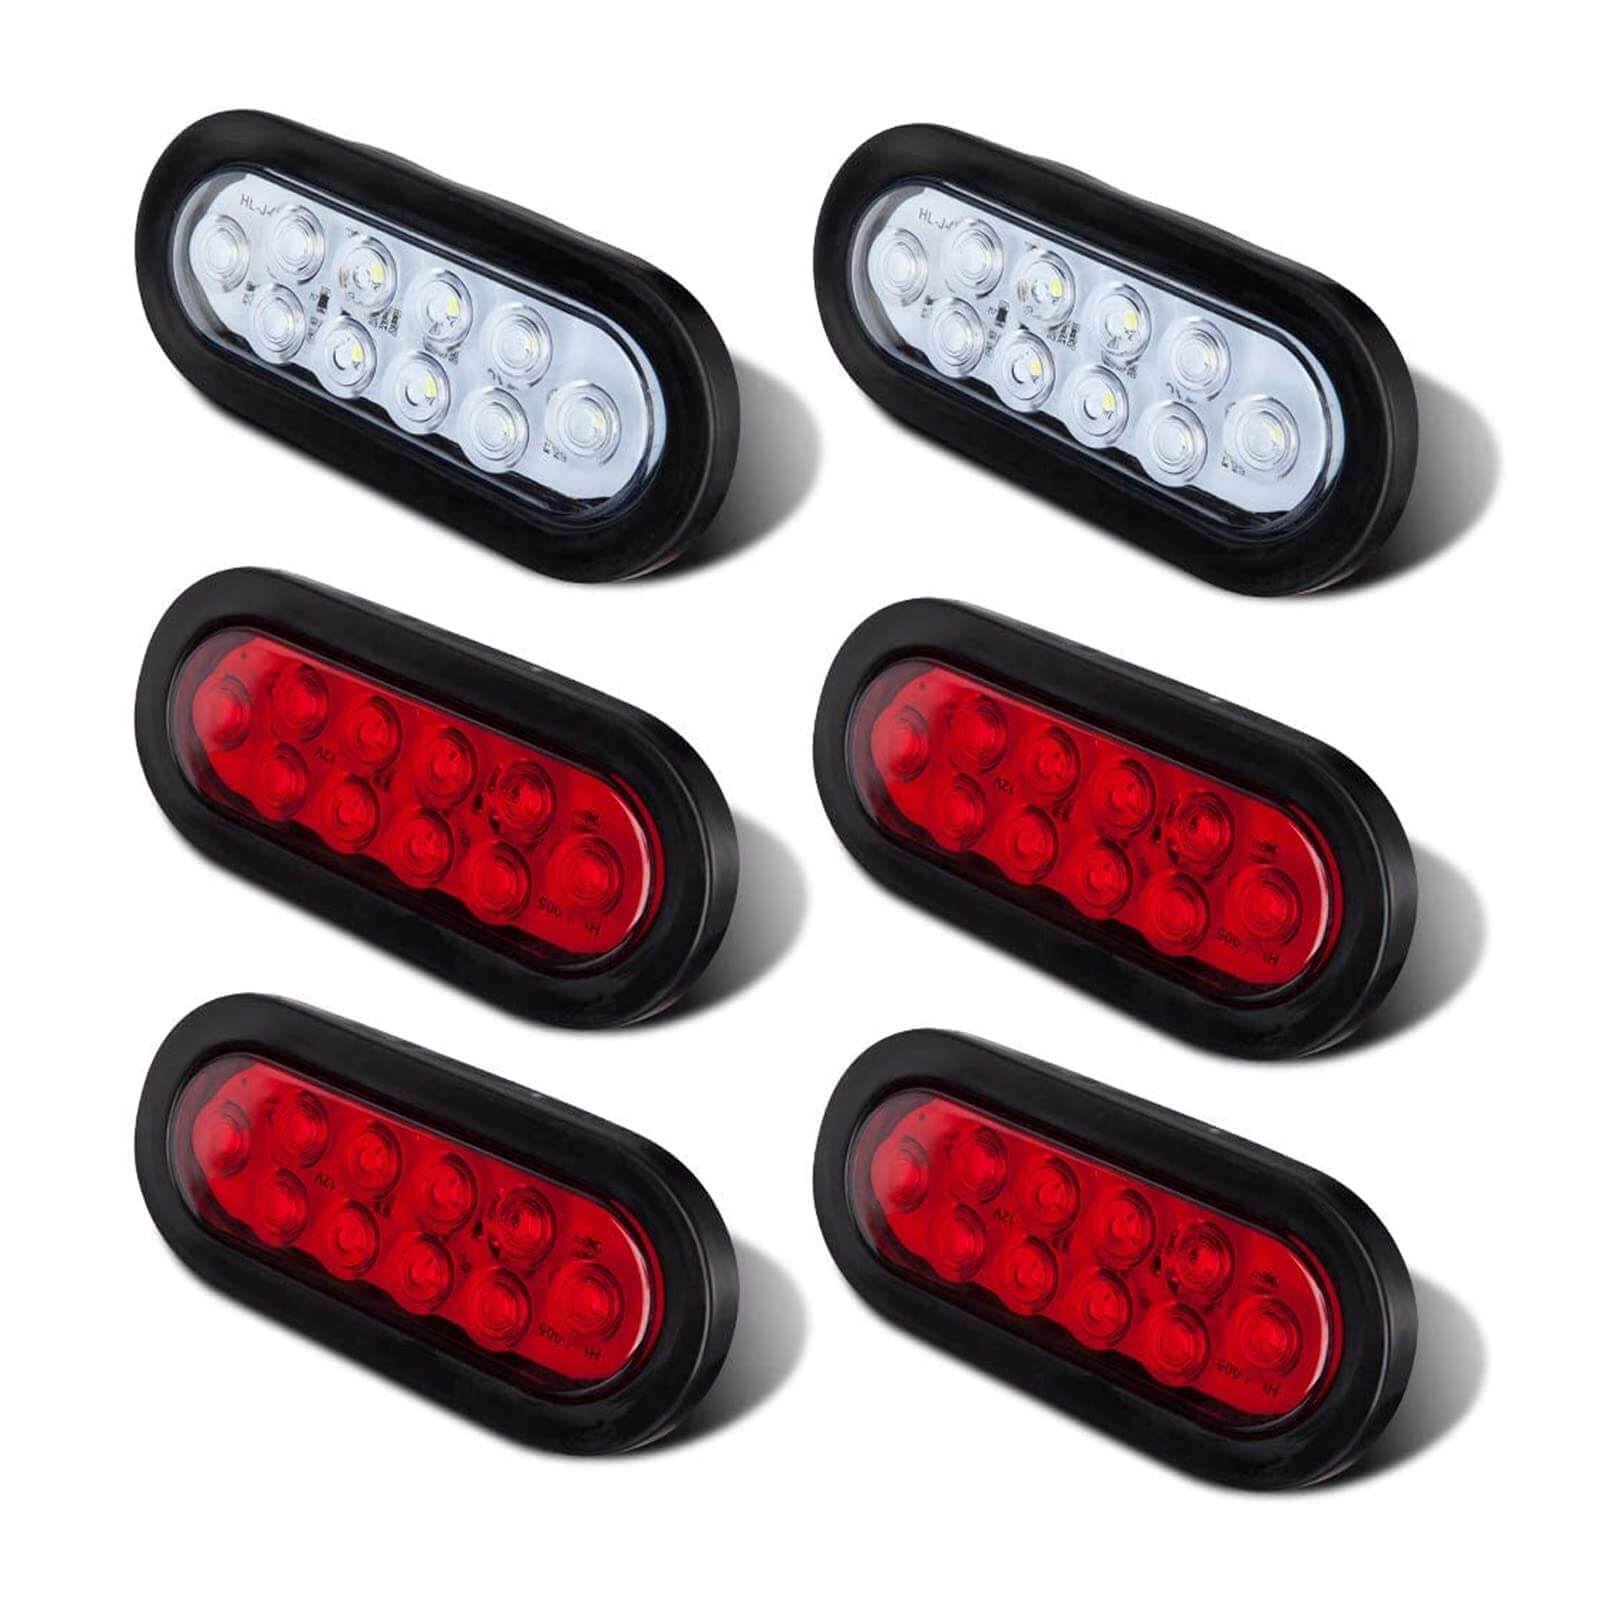
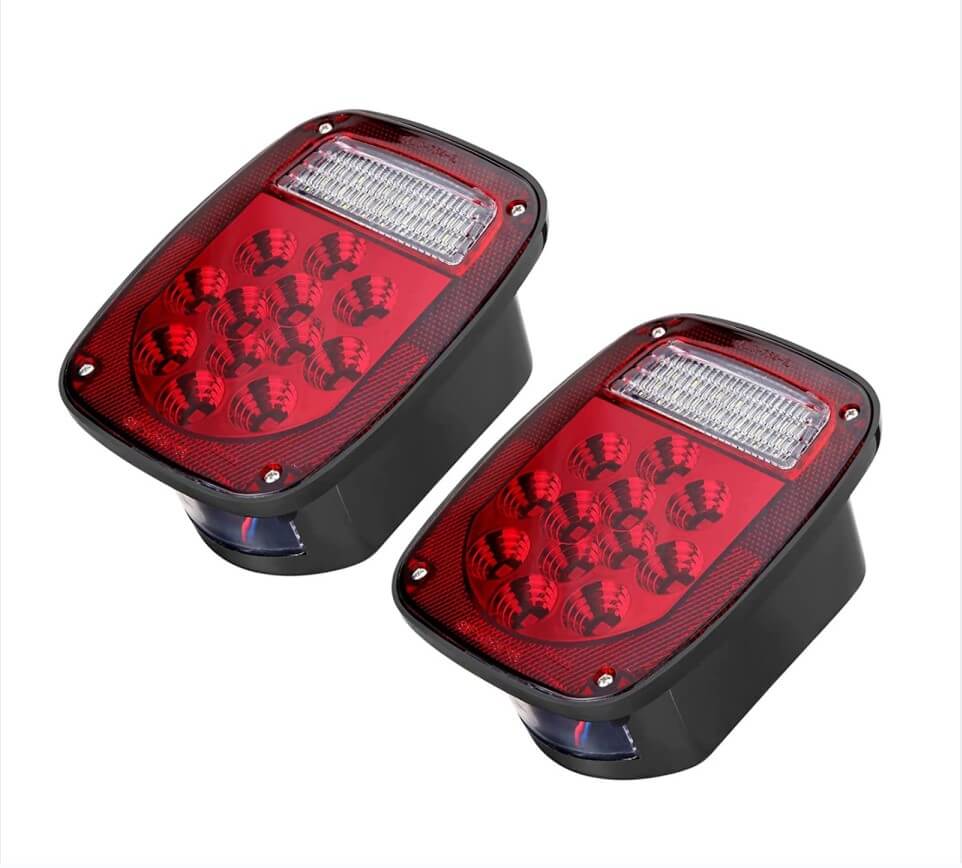
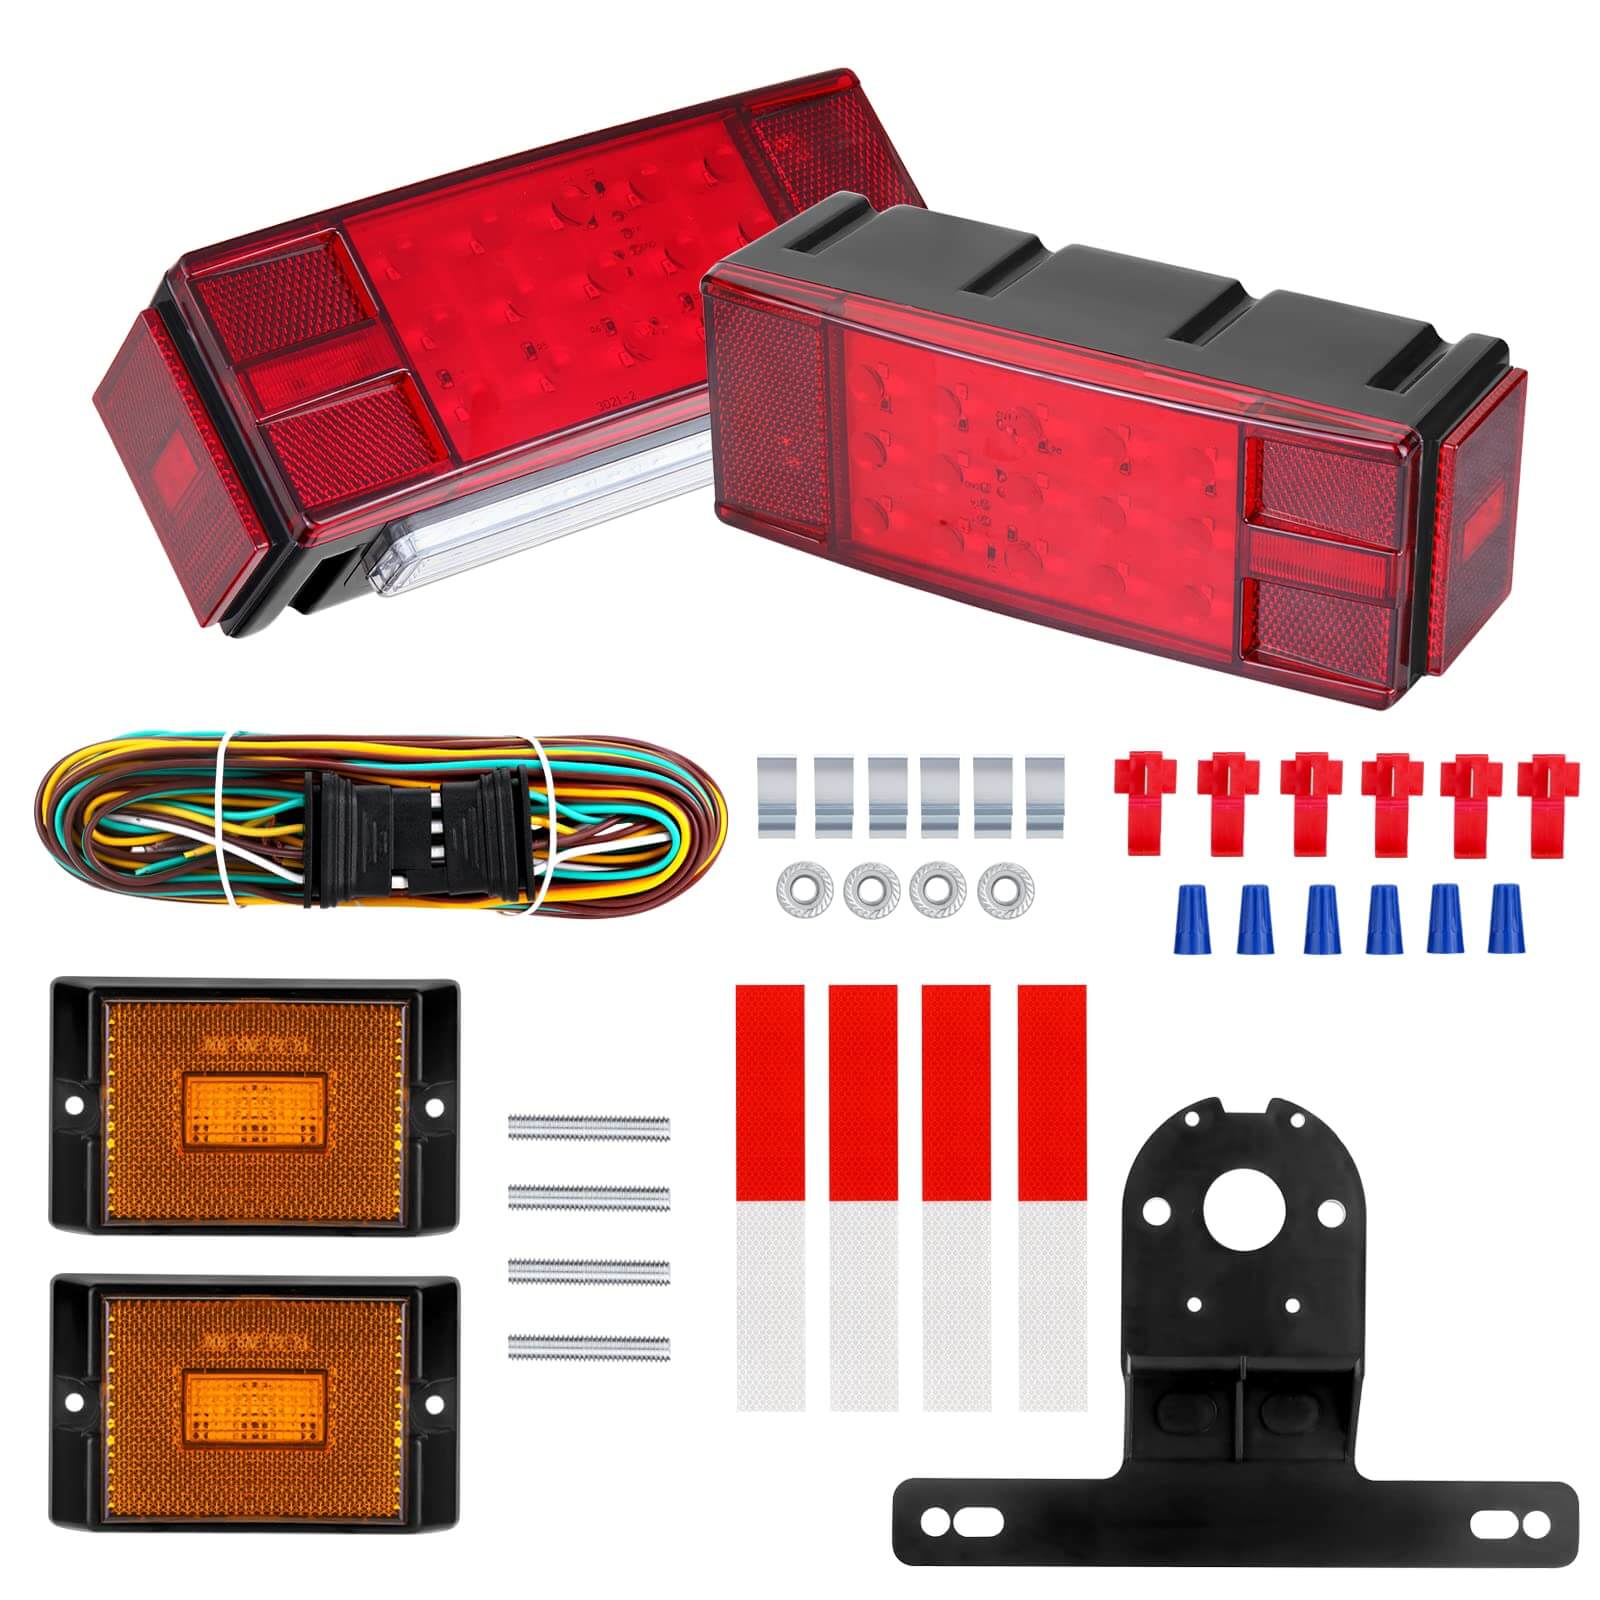
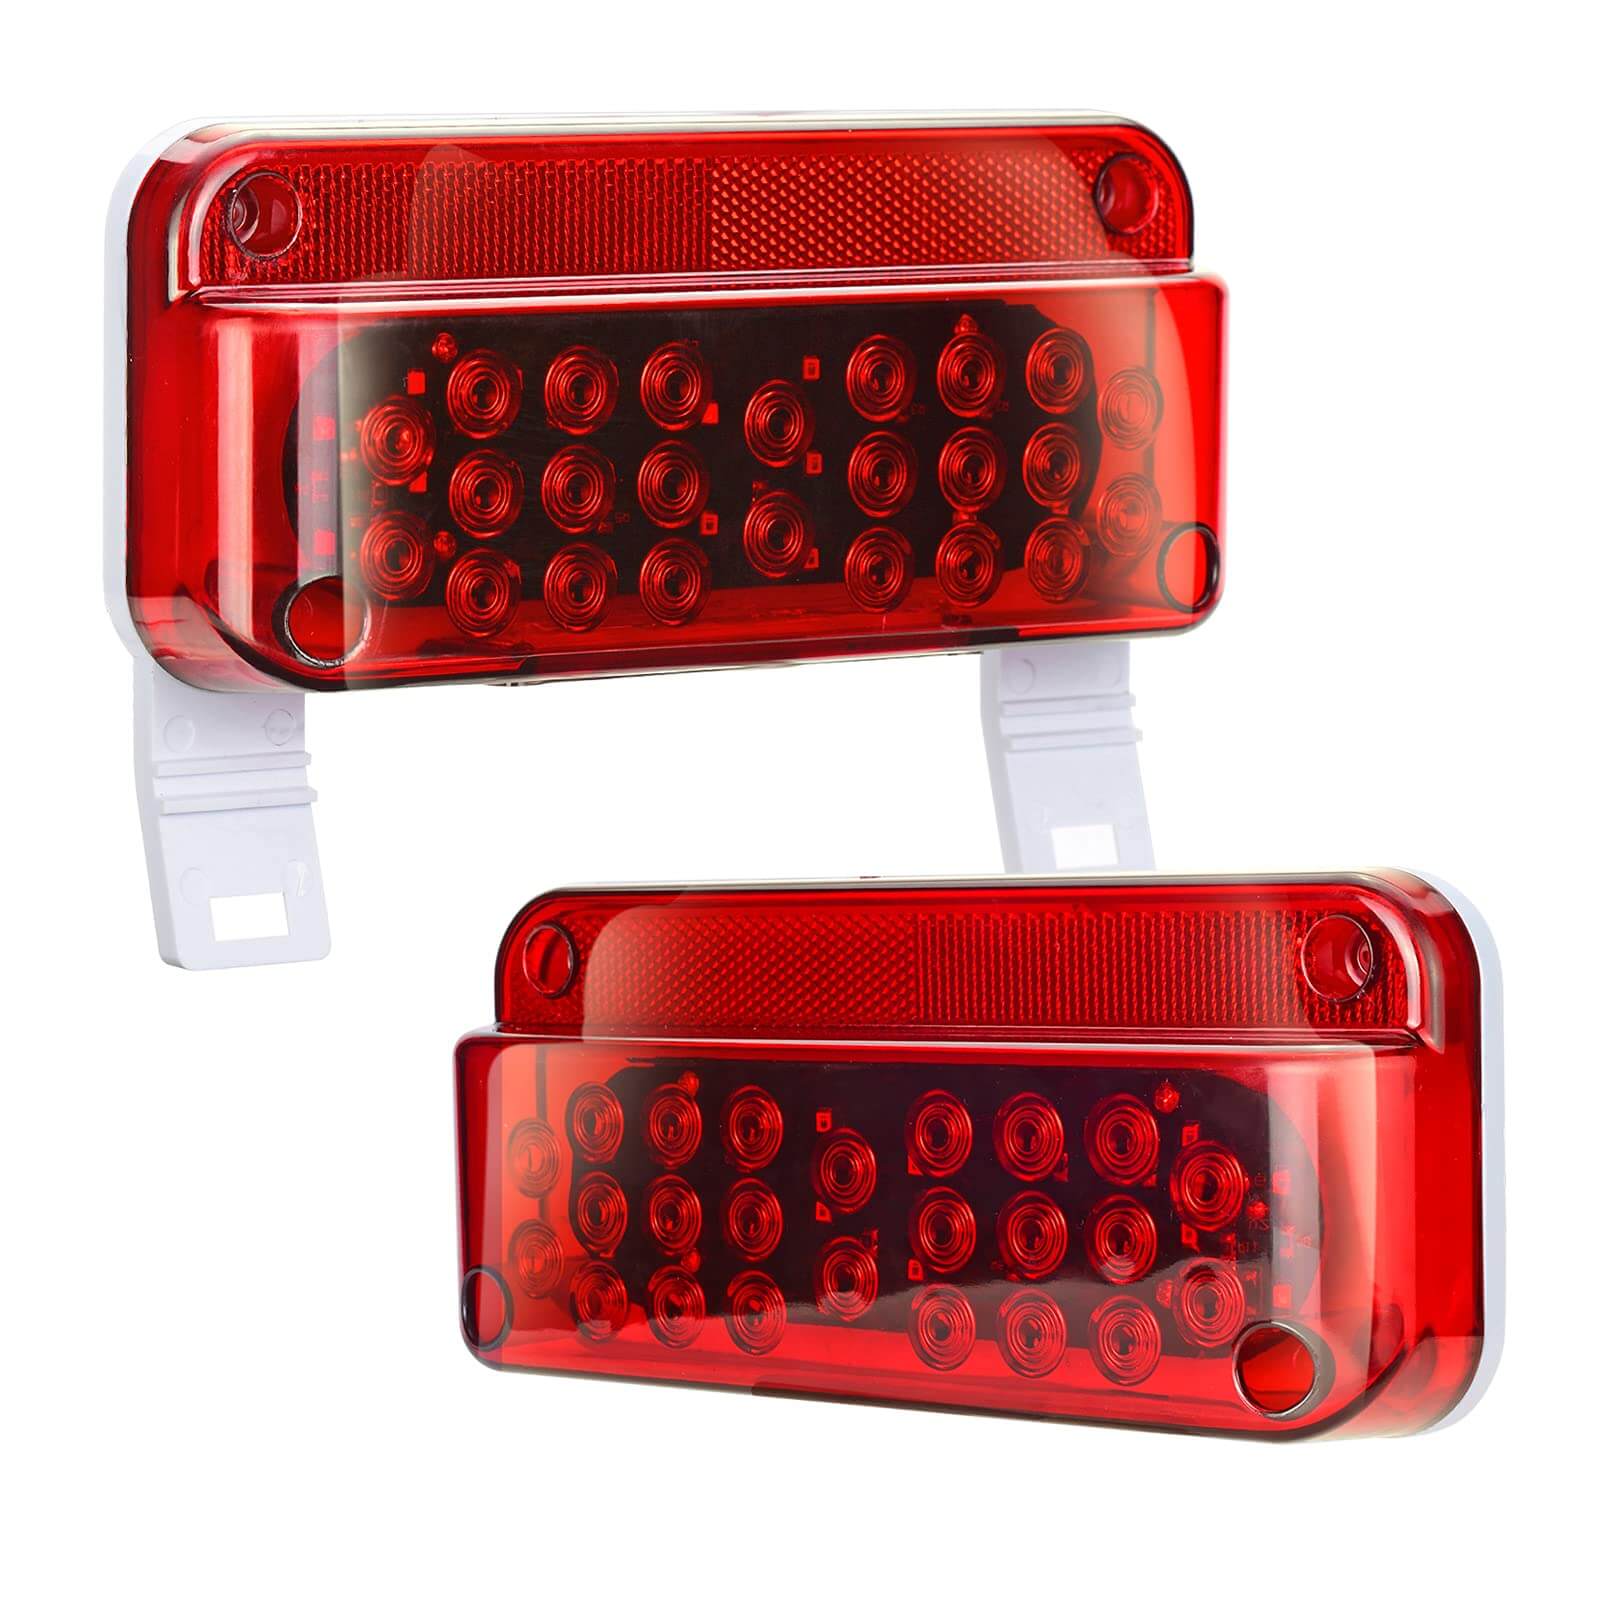
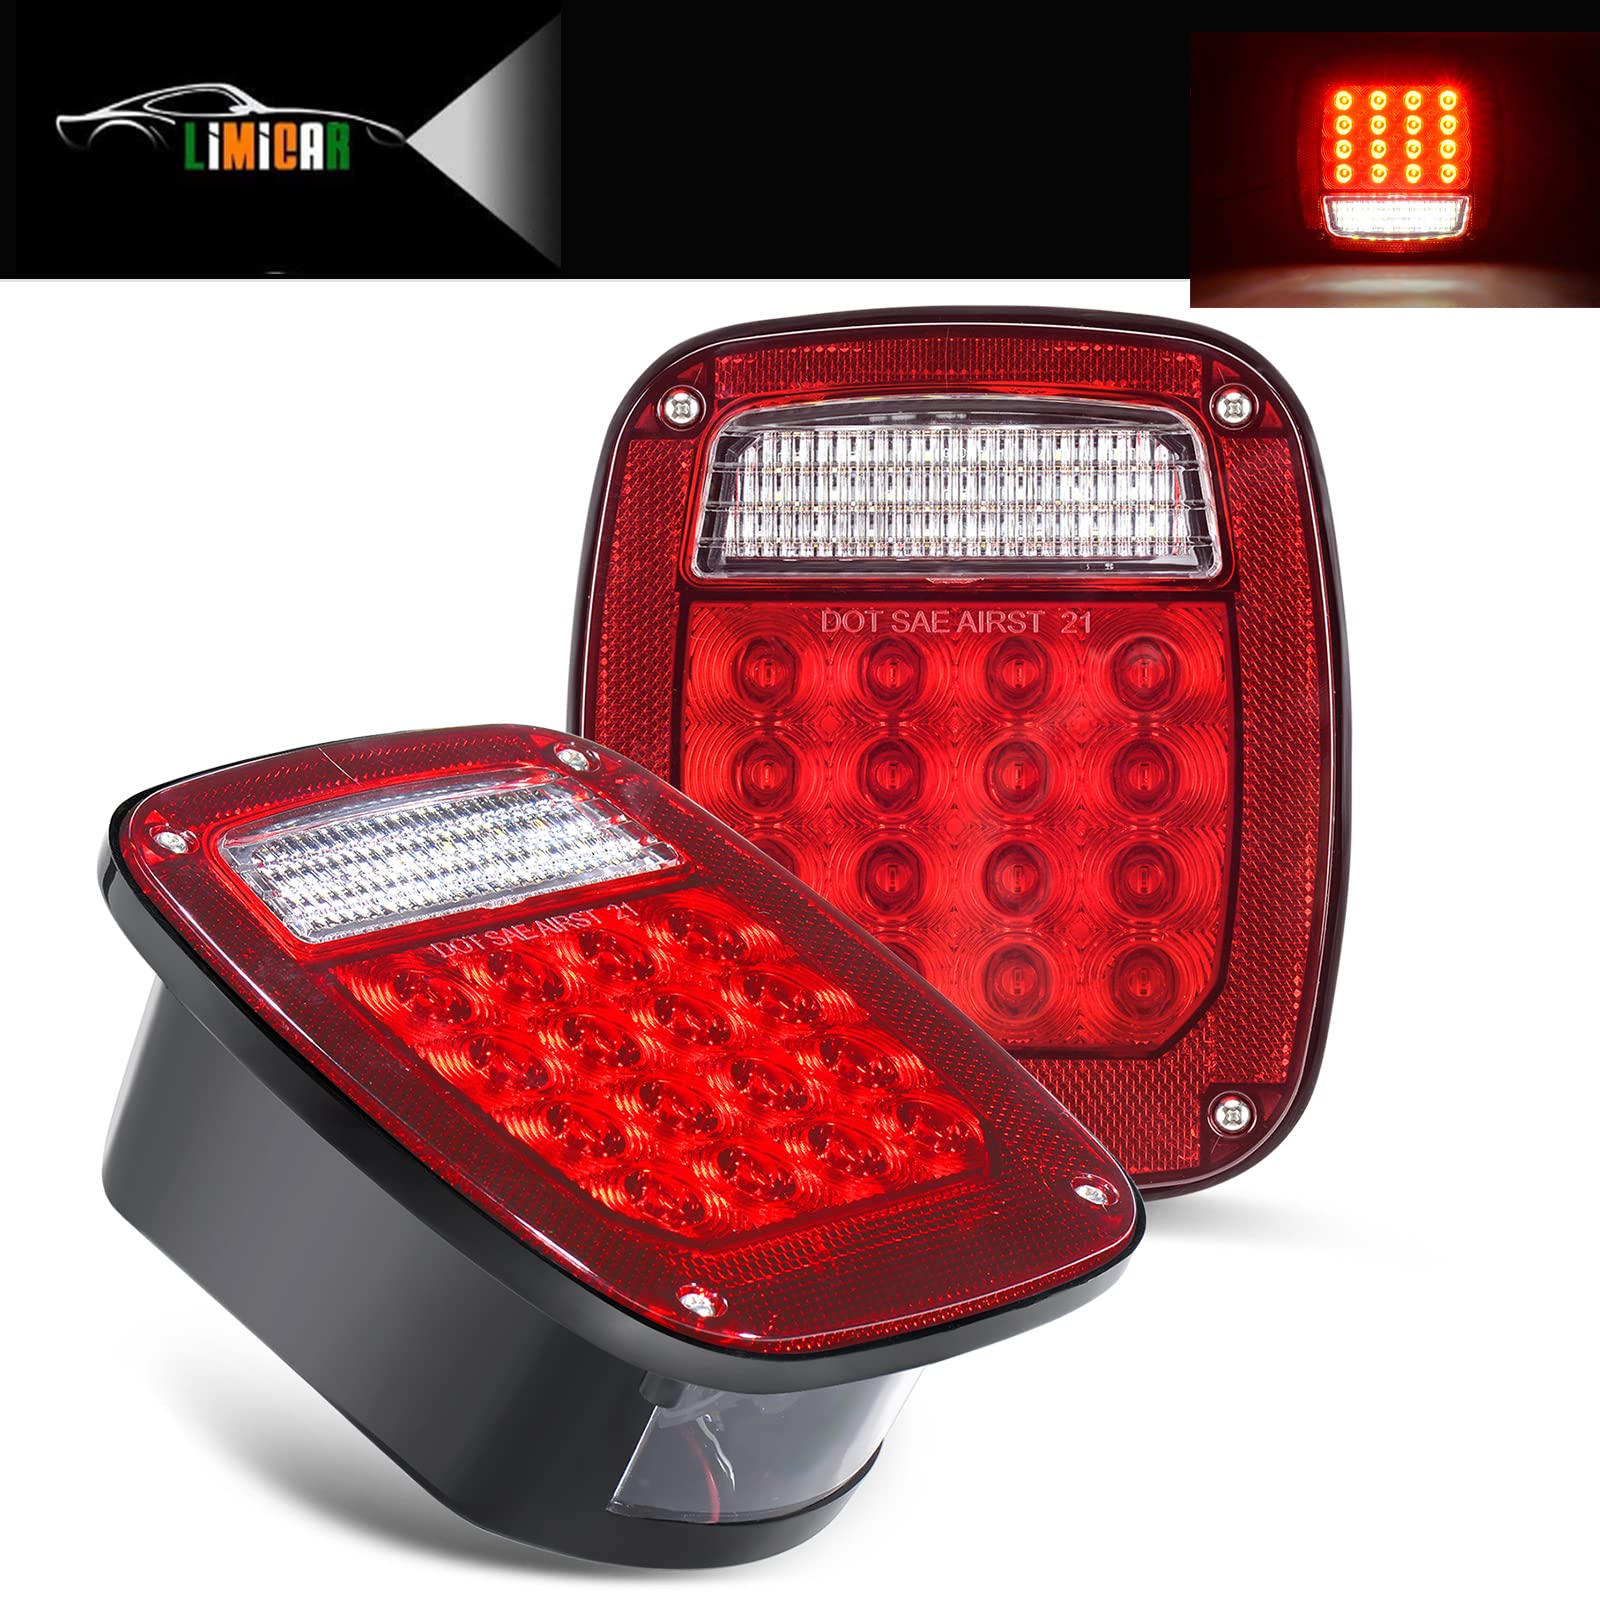
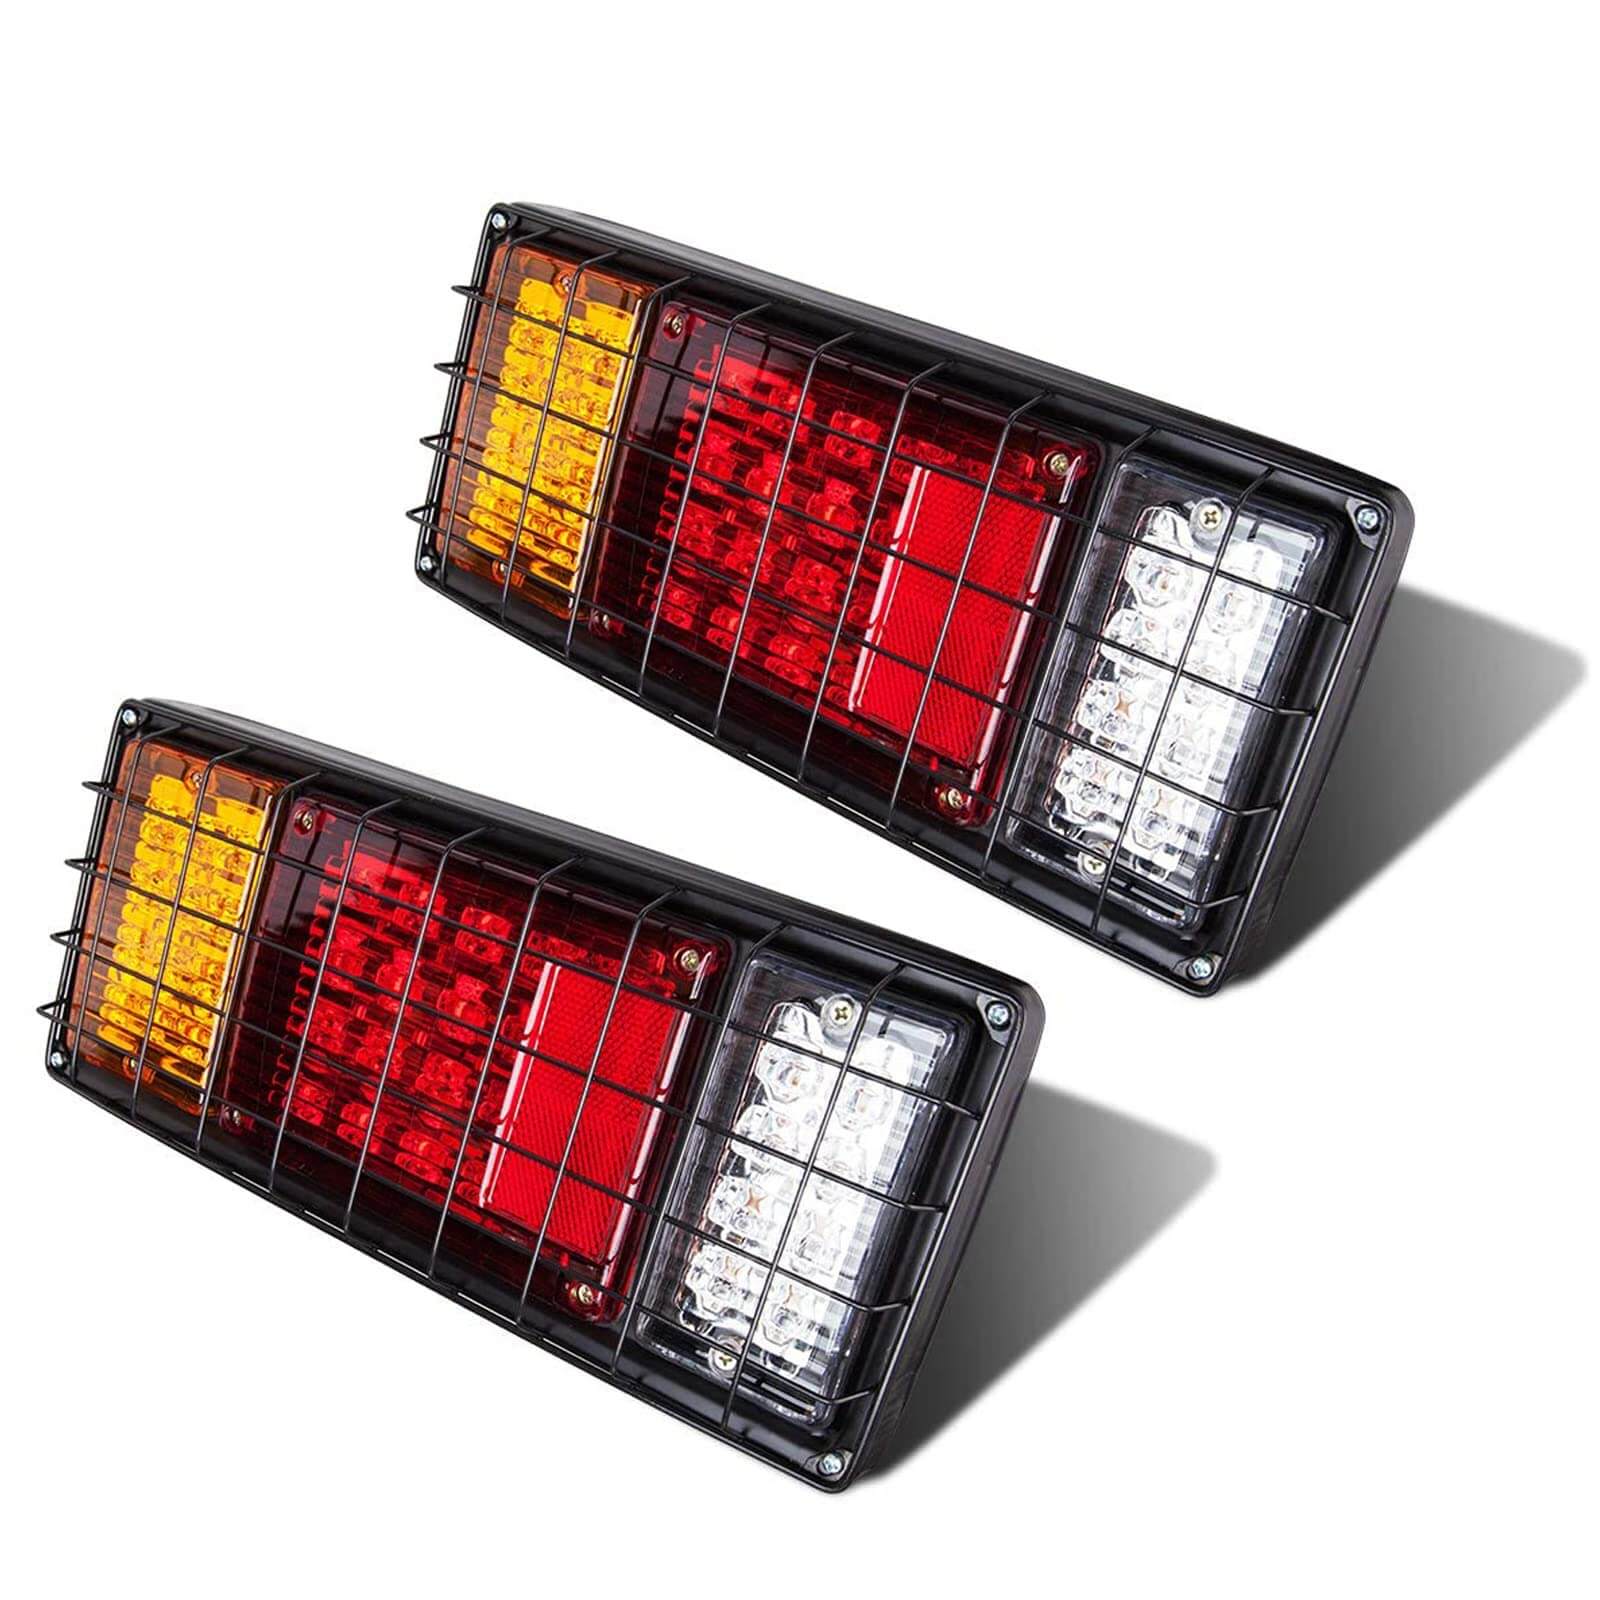
Let's go ahead and put new fixtures on it. All right, we're going to get brand new LED fixtures for our trailer.
We're also going to make sure we have enough of the correct wiring to hook up this trailer. I'm going to give two examples of two different boat trailers that I've rewired and put new fixtures on both boats, both of which have standard 4-pin flat harnesses, but the principles and techniques that we're going to discuss will apply to all types of trailers to help us make sure that we have enough of the right wiring to rewire.
To help us make sure we have enough of the correct wiring to reconnect our trailer, we may want to draw up a kind of wiring diagram for our trailer, but before we draw up our wiring diagram or schematic, I want to talk about trailer frame grounding and trailer frame continuity because those are two things that may affect how we run our new wires, and we may not want to or be able to run the new wires in the same way as the old wires to run the new wire. Let me explain, on a typical four-pin flat harness, this is where you have a green, a yellow, a brown and a white trailer side harness.
Green is for the blinkers and brakes on the right side.
yellow is for the blinkers and brakes on the left side.
brown is for your running lights.
white is the return path for the other three circuits.

Okay, so we turn the running lights on, the voltage comes down here, goes through the brown wire to the fixture, and then it takes a return path to get to this white wire. This white wire is the path of return, and that's what completes the circuit and makes it work. The same thing with the green wire, if we have voltage flowing down the green wire, for example, if we have voltage flowing down the green, for example, the break on the right, it will flow down the green to the fixture, illuminate the fixture, and then it needs a return path back to this white wire, which is another trailer-side harness where all the wires are, and one thing that's interesting is this white wire. One thing about this white wire, from the packaging, it looks like this, this white wire is only three or four feet long, while the other wires, the green, yellow and brown all come in various lengths. Both the yellow and brown wires come in various lengths and can go back to all different fixtures. So what's going on with this white wire that's only three or four feet long?
Normally, this white wire would be grounded on the frame of the trailer. Near the coupler where this harness is located, and then each individual fixture would also be grounded to the frame. The brown wire comes back down, the brown wire goes to the fixture, illuminates the fixture through the fixture, and then it's grounded to the frame of the trailer through that path. Then the voltage flows down the frame of the trailer and back to this white wire which is also grounded to the frame of the trailer, so in essence, this is pretty typical for most trailers. They'll use the trailer frame as a white wire or electrical conductor. The path goes back to all the other circuits, green, yellow and brown. This is just a basic overview of how the trailer light circuit works, so if you have any questions, please contact me.
You know the white wire is grounded to the trailer frame and the continuity of the trailer frame, what are these things?
Why can't we connect our trailers in the same way?
It means, "We can wire it the same way we used to." Sometimes, as trailers age, they actually lose continuity along their entire length. Now if you have a fully welded trailer that goes from the front to the back, if it's fully welded, that's probably not going to be a problem for you. But if you have a trailer that's bolted together, or clamped in places. These are problematic areas and you may lose continuity in the length of the trailer.
Another problem point is on a tilt bed trailer, you pull a pin and the trailer tilts. On a hitch that comes apart, well, the hitch can be a problem for continuity or power through. Now a lot of these problem areas are no problem areas when the trailer is brand new, the bolt-on points, and the brackets that clip onto the trailer or the tilt bed. But over time, the bolted part starts to bend and wear, it starts to bend and wear, the holes become tilted the bolts become a little bit worn, corrosion settles down, maybe the trailer has been painted several times, and now you can compromise continuity through these types of areas, and we'll address those in this example. I mentioned before that each fixture needs to be grounded to the trailer frame because that's how the circuit is completed. So how do we do that? Well, this particular fixture, right, we have the brown wire, which is our running light, we have the green wire, which is our rest area and our blinker, and this particular light has a white wire. In fact, this white wire has a ring connector on it, and as you know, from the factory, this white wire was used to electrically ground it to the frame of the trailer. It's usually this ring connector that's used to put it on the stud to mount the fixture and tighten it down, and that usually gives a good ground connection to the frame of the trailer, but what is this fixture?
This is the same side of the fixture that comes in green and brown, but not white. This particular fixture needs to be grounded through these studs, and when you mount this fixture to the frame of the trailer, you have to have a good electrical ground connection. From these studs to the trailer frame, that's how the circuit is completed. It's the same with fixtures like this, it's the same with these side marker lights, we only have one wire coming out. This wire needs to be connected to a brown wire, okay, no white wire. But when you install this side marker light, this stud needs to have a good ground wire from the stud to the ground. There needs to be a good electrical ground connection between this stud and the trailer frame, now this side marker light is a little bit different. It doesn't have a white wire either, just a brown wire.
Okay, but when you install this fixture, you're going to screw it through these side holes, and it has a little electronic tag, and this little metal tag needs to be grounded to the trailer. This metal tab needs to be grounded to the trailer frame so that you can complete the circuit. The rest of the wiring is pretty simple, and on this fixture we have green and brown. On this trailer, we also have the green and brown wiring harness. The other side is yellow, okay, you just need to match these colors, brown to brown, yellow to yellow, green to green, these are all very important concepts to understand.
Now, we can go ahead and we can draw up our wiring diagram for our particular trailer. Our particular trailer now some of the kits that you can buy for the tail lights and the wiring harness all in one kit. Well, a lot of times they'll have a little diagram with them, but that diagram probably won't tell you the whole story about your own particular trailer. This is the map or schematic that I drew for the first trailer that we're going to rewire and refasten. Here is the trailer frame itself. The taillights on the right, the taillights on the left, the side marker lights.
All right, as far as wiring goes, we need to get a brown wire, we need to connect this brown wire to the right running light, connect it to the side marker light, we also need to connect it to the right taillight, and then on the right side we also need this green wire, this green wire is for our blinker and brake lights.
Okay, on the left side we also need a brown wire because all four of these lights are going to come on, and when we turn on our running lights, we also need a brown wire that comes down here and connects to the side marker light and then continues on to the taillight on the left side.
This brown wire will continue on to the left taillight and then we have a yellow wire.
Okay, the yellow is our break and the blinker on the left. Then we have our white line, and now on this particular trailer, I'm going to take this white line all the way to the back part. I'm going to pull this white line to the back of the trailer frame, okay?
I'm going to explain here why I'm doing this, and then I'm also going to have a short white line going to the right and the left taillight. Same section of the trailer frame, and I'll explain that in a minute. So at this point, we've got a pretty good idea of what color wire needs to go where, so we can go ahead and take some measurements and make sure we have enough of each color wire to get the wire running where we need it to go. And then it's also a good idea to add another twenty percent to the length of those measurements. Okay, to make sure we don't run out of wire, if you notice in that picture, I showed a brown wire and connected it to both sides of the trailer, and a lot of times when you buy these harness kits, they'll actually have two brown wires. The brown wire, that's what it's going to do, is actually split and branch and go on each side of the trailer. Because we need to have the brown wire on both sides of the trailer or you can buy this trailer wire, okay, it comes in four colors and it's just kind of plain bulk.
Then you can mix and match your particular trailer to your needs. On this trailer, I was able to ground the white wire next to the coupler, but if you go back along the trailer, you can see that this front section is actually bolted to this rear section and not welded together. This could be a problem area for current to pass through, especially for an older painted trailer. Well, like I said before, where these bolts attach can bend and the holes can kind of tilt out
Corrosion and this old trailer has been painted a few times so I don't believe this bolt on area can be a good conductor of electricity and be a good return path, when this trailer was new it may have been perfectly fine for all the other fixtures but at this stage I don't trust it anymore. So I want to extend the white line all the way to the back area of the trailer frame and have it go through this bolt-on area here's another part of this trailer that I don't trust with these side marker lights
These side marker lights are mounted on these brackets that are bolted to the trailer frame and they actually wiggle back and forth, so I don't want to rely on having a good electrical connection on these brackets. Even though I measured it with a meter and confirmed that there was a good electrical connection through this bracket and confirmed that there was good electrical continuity from this bracket to the trailer frame, that doesn't mean that it stays put when I'm driving down the road and hitting bumps, which is another place I don't trust. These taillights are mounted on these upright rollers and even though I have taillights that are well grounded to this upright post, I'm not sure that this upright post is well grounded to the trailer frame, it's just bolted to many layers of paint and I just don't want to believe that's a good electrical connection.
Well, let's move on and I'll tell you how I dealt with these issues and you know how I dealt with the areas that could have been a problem. Most of the old wiring was mounted on the outside of this trailer frame, so in all the places where it was mounted on the outside of the trailer frame, I removed all the old wiring, and now, on those upright posts where the taillights are mounted, there's a small amount of wiring that goes through the square tubing of the posts, so I left the original wiring inside the square tubing, and when I got to that point, I used it to pull the new line. Then I removed all the old units and I proceeded to install the new taillights.
I bolted the new taillights to the brackets just like the old ones. These taillights have a white wire, okay, and we're going to have to figure out how to ground the white wire. But right now I'm just bolting these taillights to the brackets, and if you remember these side marker lights are mounted to these brackets, and I really don't believe these brackets are grounded to the main frame of the trailer very well. So I'm going to bypass these brackets altogether and mount these side marker lights directly to the main frame of the trailer. Because there are no white lines on these side marker lights. I have to make sure that when I install these side marker lights that I ground them properly. These particular units were to be mounted with two mounting screws on either side of them, with a metal tab on one side, and the metal tab needed to be grounded to the trailer. The metal tab needs to be grounded to the trailer frame, so I'm using stainless steel self-starting screws. So I'm using stainless steel self-starting screws so that will give me a good long lasting electrical connection. Once the fixtures are in place from the sheet metal to the trailer frame, it's time to start laying the new wiring. It's time to start laying new wiring, I'm using a wiring harness kit
Here the plugs and wires are intact, but one thing I do want to do is I want to extend the length of the white wire because I don't want to ground the white wire directly on the trailer. I want to extend it so that it goes through the bolt-on area on this particular trailer. The way I extended the white wire was I soldered another white wire to it and heat shrunk the connection point.
Now it's time to mount the wire to the frame of the trailer. Now there are many ways to mount the wires to the frame of the trailer. I'm going to go through a couple of different examples where I started installing these tack blocks that are actually designed to accept the zipper ties that are used to mount the wires. You can put them anywhere. I didn't trust the peel and stick part of it to put it on the trailer frame, so I just used some stainless steel self-starting screws and mounted them to the trailer. Then I just used these zipper ties to attach the wires. I upsized the wire under the zip ties to give it a little more room. The zip ties give it a little bit more grip and a little bit more protection, and then when I put the wires through these jack wheel stands, I put a little bit of rubber around the wires. I put a little bit of rubber around the wires to protect them and I kept installing the wires that way until I got to the bolt area on the trailer frame, which is part of the trailer frame.
I wanted to ground the white wire, so I used a stone wheel and a drill bit to grind the paint off. Crimped in a ring connector, unscrewed it with a stainless steel self-starting screw, and then to protect it from corrosion, I put a coat of paint on it. To prevent corrosion, I coated the whole thing with liquid electrical tape. You can also use regular paint, you just want to make sure that corrosion can't get into this electrical connection. The nice thing about using liquid electrical tape is that you can apply it to and around the crimp. It will provide a pretty good seal in and around the crimped connector. This is where the wires are separated in this wiring job, green and brown to the right and yellow and brown to the left. Now we need to connect the brown wire to these side marker lights, but remember, the brown wire needs to continue on after this side marker light. This brown wire needs to continue on through this side marker light all the way to the tail light behind it. Now there are a lot of ways that we can do this, we can use a three-way pinch connector, but in this example, I just used a good old fashioned wire nut and I separated that brown wire from the side marker light wire and then connected those three wires together. I broke that brown wire apart, added the side marker light wire, and then screwed all three wires together, and then I sealed them with liquid electrical tape.
Now, I only need to install two wires in the back. So on one side I started using these little black strips. I'll start using these little black strips and go ahead and secure them with these stainless steel self-tapping screws. I'll also put a little bit of tape on the wires to get a tighter grip on the tape and then on the other side of the trailer I was able to use some of the existing tabs to mount the wires and again, tape the wires up so that they're better protected and those tabs are better secured to the tape, you know?
Another great way to mount wires on a trailer frame is, good old fashioned duct tape and I like to add a zipper tie or two just to reinforce it a little bit, I know it looks a little rough but good quality duct tape is really a good wire anchor, good quality duct tape really holds the wires to the frame of the trailer and that gives us those uprights and I'm telling you, I really don't believe in having a good electrical connection to the frame of the trailer, so what I'm going to do is I'm going to add a short piece of white wire.
White wire that goes down from the tail light fixture. Coming down from the upright mount and grounding it nicely to the main part of the trailer frame. I know that part of the trailer frame is well grounded because you remember I extended that white wire. Because you remember I extended the white wire to the main rear of the trailer frame, so, if you remember, I left the old wire in the square tube of the upright bracket that I was going to use to pull the new wire and ground the white wire, and I was going to grind off the paint and press it onto the ring connector. On the ring connector I unscrewed it with the self-starting screw that came with the stainless steel, I covered it with liquid electrical tape and now I have the wires hooked up.
It was time to attach the taillight unit, and at this point, it was pretty straightforward. White to white, brown to brown, yellow to yellow, green to green, now, on this particular trailer, I'm going to crimp these wires together, but the cool thing about this particular butt connector is that the insulation around it is heat shrink, so I'm going to go ahead and crimp the wires together and then heat up the connection and the insulation is actually heat shrink. It shrinks down to the wire, creating a very nice watertight seal. You can see I left a couple of inches of extra wire on each of the taillight units, and that's because if the owner damages those units and they need to be replaced, you're going to have to cut that diagonally. You're going to have to cut the butt connector that I put in there, and every time you cut the butt connector, you're going to lose a little bit of wiring length, so we're going to leave ourselves a couple of extra inches of wiring so we don't have to worry about not having enough wire.
And of course we don't want those wires swaying in the wind, we want to secure them down, again, secure them down, tape is a great holding device, and of course zip ties. Well, here's an example of rewiring that I did on the boat. The trailer, let's take a look at another boat trailer that I rewired and re-secured, now one thing that's different about this trailer is that the original wiring was running inside the trailer frame.
So we're going to put the new wiring in there as well instead of just removing all the old wiring. We want to bring in the new wiring as we remove the old wiring, and yes, we're going to use the old wiring as a kind of, as we've done on other trailers, use the old wiring as a pull wire for the new wiring. In the length of the upright bracket, now the map layout or the schematic of this boat, we have two side marker lights and two taillights. We have two taillights, and on this particular trailer, the taillights are mounted on brackets that are bolted to the trailer frame, and there are a lot of them now, on a lot of trailers, and I think it's an unstable electrical connection point. But because this trailer is completely galvanized and relatively new, I really believe that these bolt-on brackets do have a good electrical connection to the main frame.
But even though this trailer is galvanized, there is one area where I don't believe it has good continuity. I'm just concerned that when this trailer is on the road, the hitch point of this tilt bed is going to rattle and shake and maybe have a, I'm just concerned that when the trailer is on the road, the hitch point of this tilt bed is going to rattle and shake and maybe have good electrical continuity, which tends to make your taillights flash. So what I did was to mitigate that, I just ran a jumper from one side of the hitch point, one side of the hitch point to the other side to give myself a good electrical connection through the hitch point, and of course, you want to give yourself enough leeway so that if you tilt the bed of the trailer, you don't get the wires loose. I don't really want to trust these brackets, so I'm going to mount these sidelights directly to the trailer.
I want to mount these side marker lights directly to the frame of the trailer, so the side marker lights are mounted directly to the frame of the trailer, and the brackets for the taillights are nice galvanized brackets. The brackets are bolted on and I am very happy with the electrical connections and the jumper cables are all around. The hitch points are on the tilt bed of this trailer and I feel comfortable that I can ground the white wire by the coupler at the front of the trailer and have good electrical continuity all along the length of the trailer. It's the same thing, you want to tap through the brown wire on both sides.
Then continue this brown wire to the taillight in the back, and now, on this particular trailer, I'm just going to go ahead and I'm using wire nuts to connect the wires. It's probably not as good as the heat shrink butt splice that we used on the first trailer. But using wire nuts and then sealing them up with electrical tape will give you a very good long lasting electrical connection. Now, if I don't use liquid electrical tape to seal the wire nuts, it turns out to be a very good long-lasting electrical connection.
If I don't use liquid electrical tape to seal the wire nuts, it's always a good idea to put a little bit of antioxidant grease on the inside of the wire nuts before I unscrew them. This will help seal a good electrical connection. Then tape it up to further protect it. The advantage of using a wire nut is that if the fixture is damaged it can be easily unscrewed from the circuit. On these taillights, I need to work on this white wire coming out of the fixture, and yes, I need to ground it to the trailer. Remember I'm pretty confident that this bolt-on bracket will provide a good electrical connection to the main frame of the trailer. So I'm going to ground this white wire, put it on the mounting studs on the fixture itself, and if this trailer is painted, I'll want to scrape it off. I want to scrape all the paint off of this white wire where it contacts the frame of the trailer. Because remember, we have to have a good electrical connection from this white wire to the trailer frame. If you have to go through the paint, sometimes you just can't do that, but because this bracket is galvanized. I'm just going to add a little bit of electrical grease, tighten this nut down, and I'm really confident that I'm going to have a good electrical ground. This white wire has a good electrical ground, now on this trailer where the wire goes into the trailer frame.
On this trailer, where the wires go into the trailer frame itself, they're a little bit loose, they're scraping around on the trailer frame and they're actually worn down to where the conductors are exposed so I don't want that to happen again so I'm going to reinforce that area of the harness a little bit and wrap it with some rubber to protect those wires from rubbing against the trailer frame and I'm also going to use some zipper ties to secure those wires so they don't wiggle around, and then there's a couple of spots near the side marker lights. I want to tape up the wires, I don't want the trailer frame to rub against the insulation of the wires, and then in the back by the taillights where they come out of the trailer frame is also an unstable spot, so I want to bolt the wires up with some electrical tape and then of course use some zip ties to hold them in place.
Over the years, I've had people ask me why I didn't just use white wire?
Why don't you run white wire to all the individual fixtures?
The continuity of the trailer to complete the circuit, one reason they don't do that is that you would have to run more white wire and you would have more connection points, but it would certainly work and work especially well for those fixtures that actually have white wire. But for fixtures that don't have white wire, you still need to crimp a ring connector and get a good clean connection on the studs or screws that you use to mount the fixture. If you are laying white wire on all the individual fixtures that have their own white wire, I would go ahead and ground the white wire to the trailer. That way, if you have any shorts to the trailer frame, you will still blow a fuse and that will let you know something is wrong with the wiring Now, I know some of these things seem like a bit of overkill. Extend the white wire, add more white wire, and sand it down to bare metal. Using stainless steel screws, sealing our connections protecting the wire, securing the wire, I know some of this seems like overkill, but doing these things will make your new wire and your new fixture much more valuable. Your new wires and your new fixture will work fine for many, many years. Well folks, these are a few examples of how you can rewire and refasten a trailer, there are a lot of different ways to secure the wires, there are a lot of different ways to connect the wires. But some of the things that I've shown you in this article have really worked for me over the years. If you're also interested in troubleshooting trailer lights, I'll continue to write an article on that later. If you'd like to learn more about trailer lights, you can contact me as well, and I hope that some of what we've talked about today will help you.


0 Comments